In this part 1 of 2 posts, I share the process of a heartwarming maker project built on top of Raspberry Pi and Rust. It's more a story than a how-to guide, but provides an interesting chronology of problems encountered. In part 2 I'll be getting technical and discussing Rust in-depth. Source code for this project can be found on Github
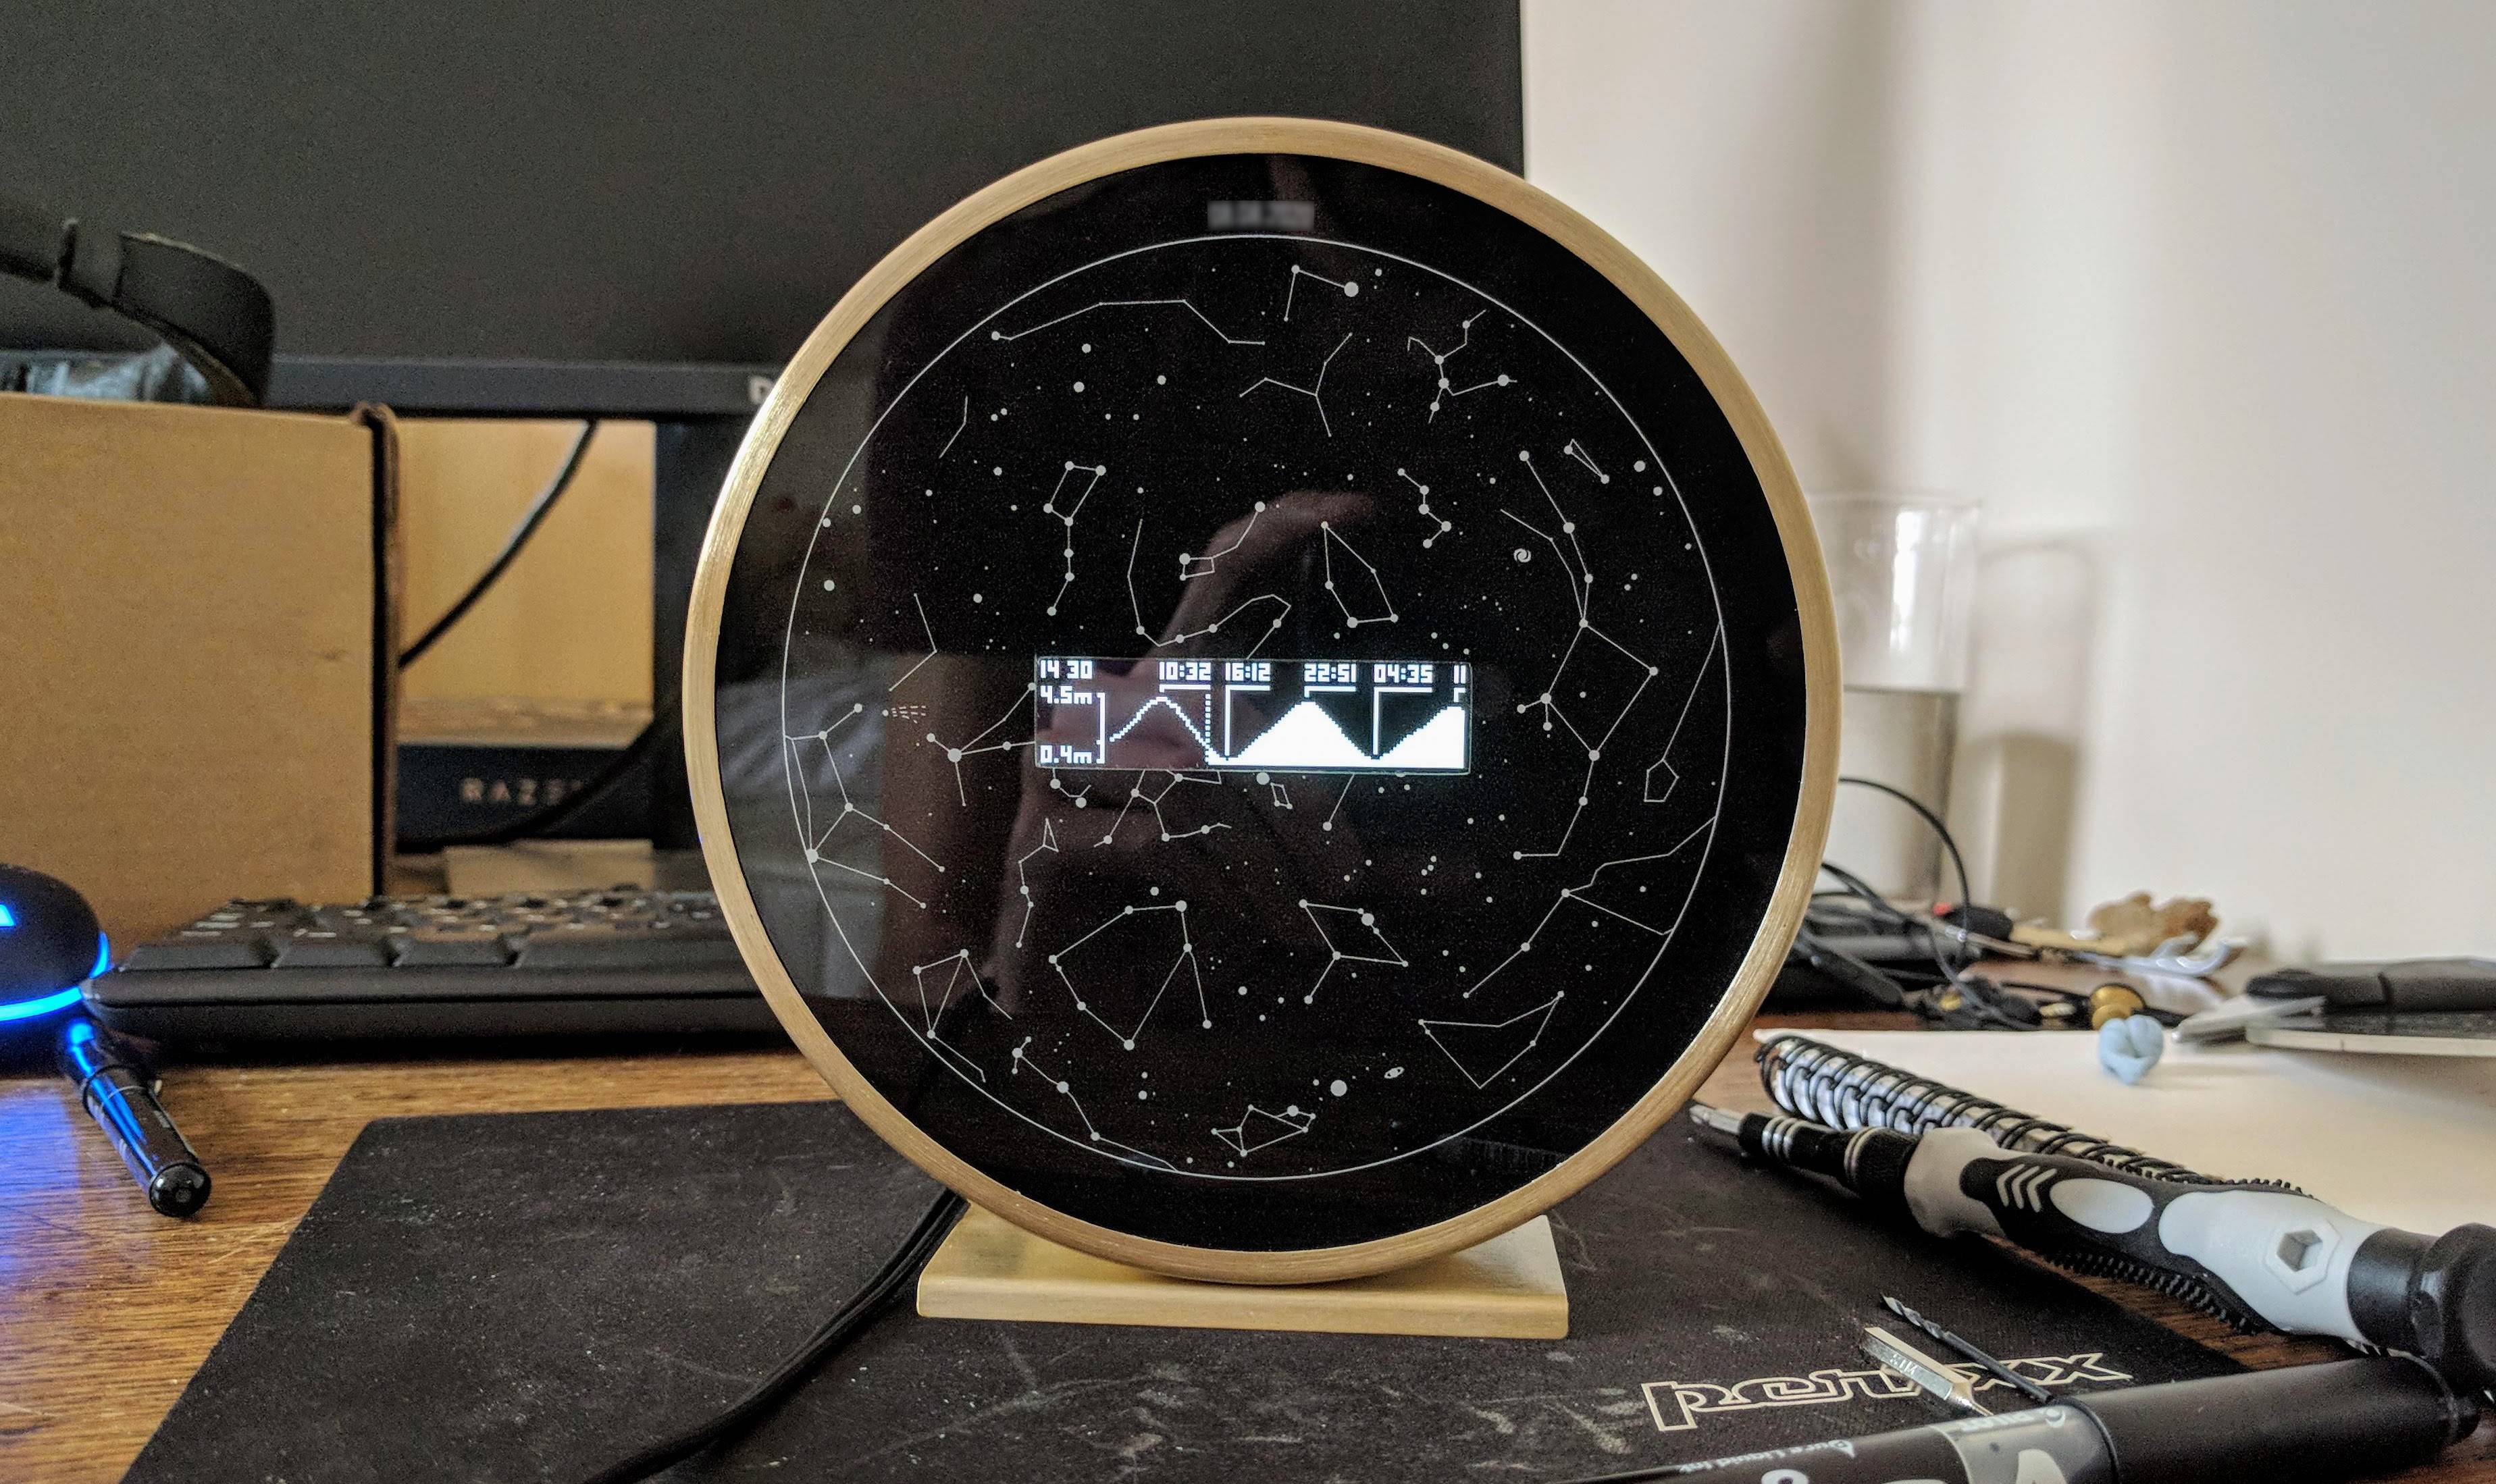
I had the good fortune to spend my summer with Alice's family who had recently moved to a seaside town. Tim, the patriarch of the family, was distraught to learn that, out of his impressive array of nautical implements, his tide clock readings were never accurate. This is the story of how we built him a surprise 60th birthday present he'd never forget:
The Problem with Tides
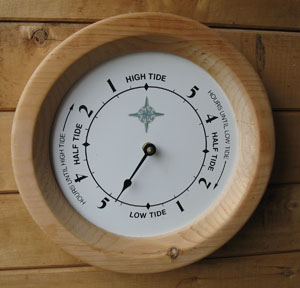
Most people understand the moons gravitational pull causes a regular ebb and flow in water levels. Those concerned with the sea will likely recite 6 hours and 10-ish minutes as the duration between low and high tide. Consider a wristwatch or wall clock, most mechanical timepieces already track a daily period of 12 hours. With a small adjustment to gearing ratios, it would be easy enough to build a clock that reports instead the tidal cycle of 12 hours and 25 minutes. Indeed this is how most ornamental tide clocks work.
I was surprised, however, to learn tides can be asymmetric! Instead of six hours, it might take the tide seven hours to come in and five hours to go out again. Local environmental factors like the shallowness of an estuary basin can have a pronounced effect on tidal regularity. In extreme places, like the Gulf of Mexico, this can be enough to reduce the regular cycle from four tides a day to just two.

A disaster for the clockmaker! This asymmetry also changes with the lunar cycle, so it's not even possible for a mechanical clock to be consistently wrong. It makes intuitive sense if you think about it. Water is "stuff". When the tide changes that stuff has to go somewhere. If something makes it hard for stuff to move about, like say sandbars in a shallow basin, it's going to make the stuff pile up. The bigger the change in stuff, like say near spring tide, the more piling up is going to happen. If that stuff is still hanging about when the tide changes, the net effect is going to be an asymmetric tide.
Making with Embedded Devices
To my mind, this was the perfect application for an internet-of-things powered device. By outsourcing the problem and fetching data from an API it meant the source of truth would always be accurate. Furthermore, a digital display could accurately visualise the asymmetric ebbs and floods.
On choosing Raspberry Pi
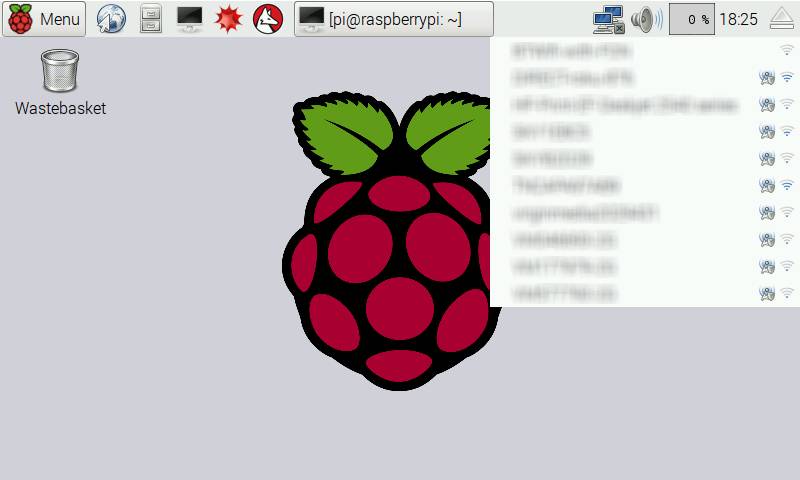
Initially, I considered using an Arduino, as I already had one knocking about my toolbox, together with a compatible LED screen. Ultimately I chose the path of least resistance because the Raspberry Pi comes with an integrated WiFi chip. Unlike the Arduino, the Pi is a mini-computer running an entire operating system. This is the sledgehammer approach, but has advantages considering the project would eventually live in the hands of someone unfamiliar with embedded tech. If the WiFi connection were to drop or need changing, logging onto a desktop would be a much friendlier experience.
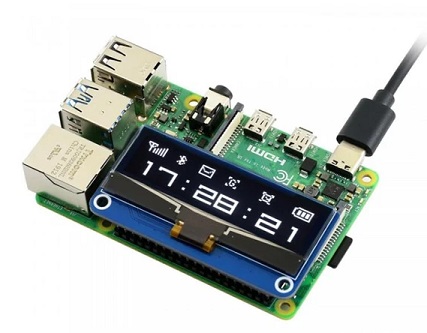
Having settled on a Raspberry Pi build, the next job was to find a suitable display. Considering tides change relatively slowly, it was tempting to use an e-ink display for crazy power efficiency. That might be necessary if the clock was battery-powered, however, the need to keep the Pi running meant we were already committed to a plug-in power supply. In the end, I choose the 128x32 pixel Waveshare 1305. Its convenient "hat" form factor meant no soldering. Also, OLED looks crazy good compared to the standard LED screen I already had.
On Choosing Rust
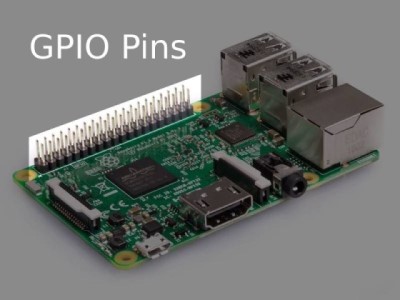
At this point, I was still unsure of which programming language to use. Whilst the Raspberry Pi can run anything that compiles to Linux, communication to the screen happens through the Pi's GPIO pins (General Purpose Input/Output). All information is transmitted by setting pins high and low and feels reminiscent of working on Arduino and other embedded platforms. Even though the screen is just 128x32 (aka 4096) pixels, that's far more destinations than the Pi's 40 GPIO pins can individually address. Fortunately protocols, in this case SPI, exist to pack data into compressed blocks which can be sent over the limited bandwidth of the IO pins.
The screen manufacturer-provided 3 code samples: 1 written in python and 2 written in C. Python was my immediate choice, given the online nature of the project, however, I simply couldn't get it to work. The two C samples were curious. One was built on top of a bring-your-own driver for the embedded Broadcom chip that controls GPIO pins. The other was written on top of wiringPi, which ships with Raspbian (aka the Pi flavoured Linux OS) and seems to be the blessed path for doing IO. However, I was saddened to learn this open source project was largely the efforts of a single person who has since stepped down as a maintainer due to open source burnout. It's a worrying trend I'm seeing a lot lately.
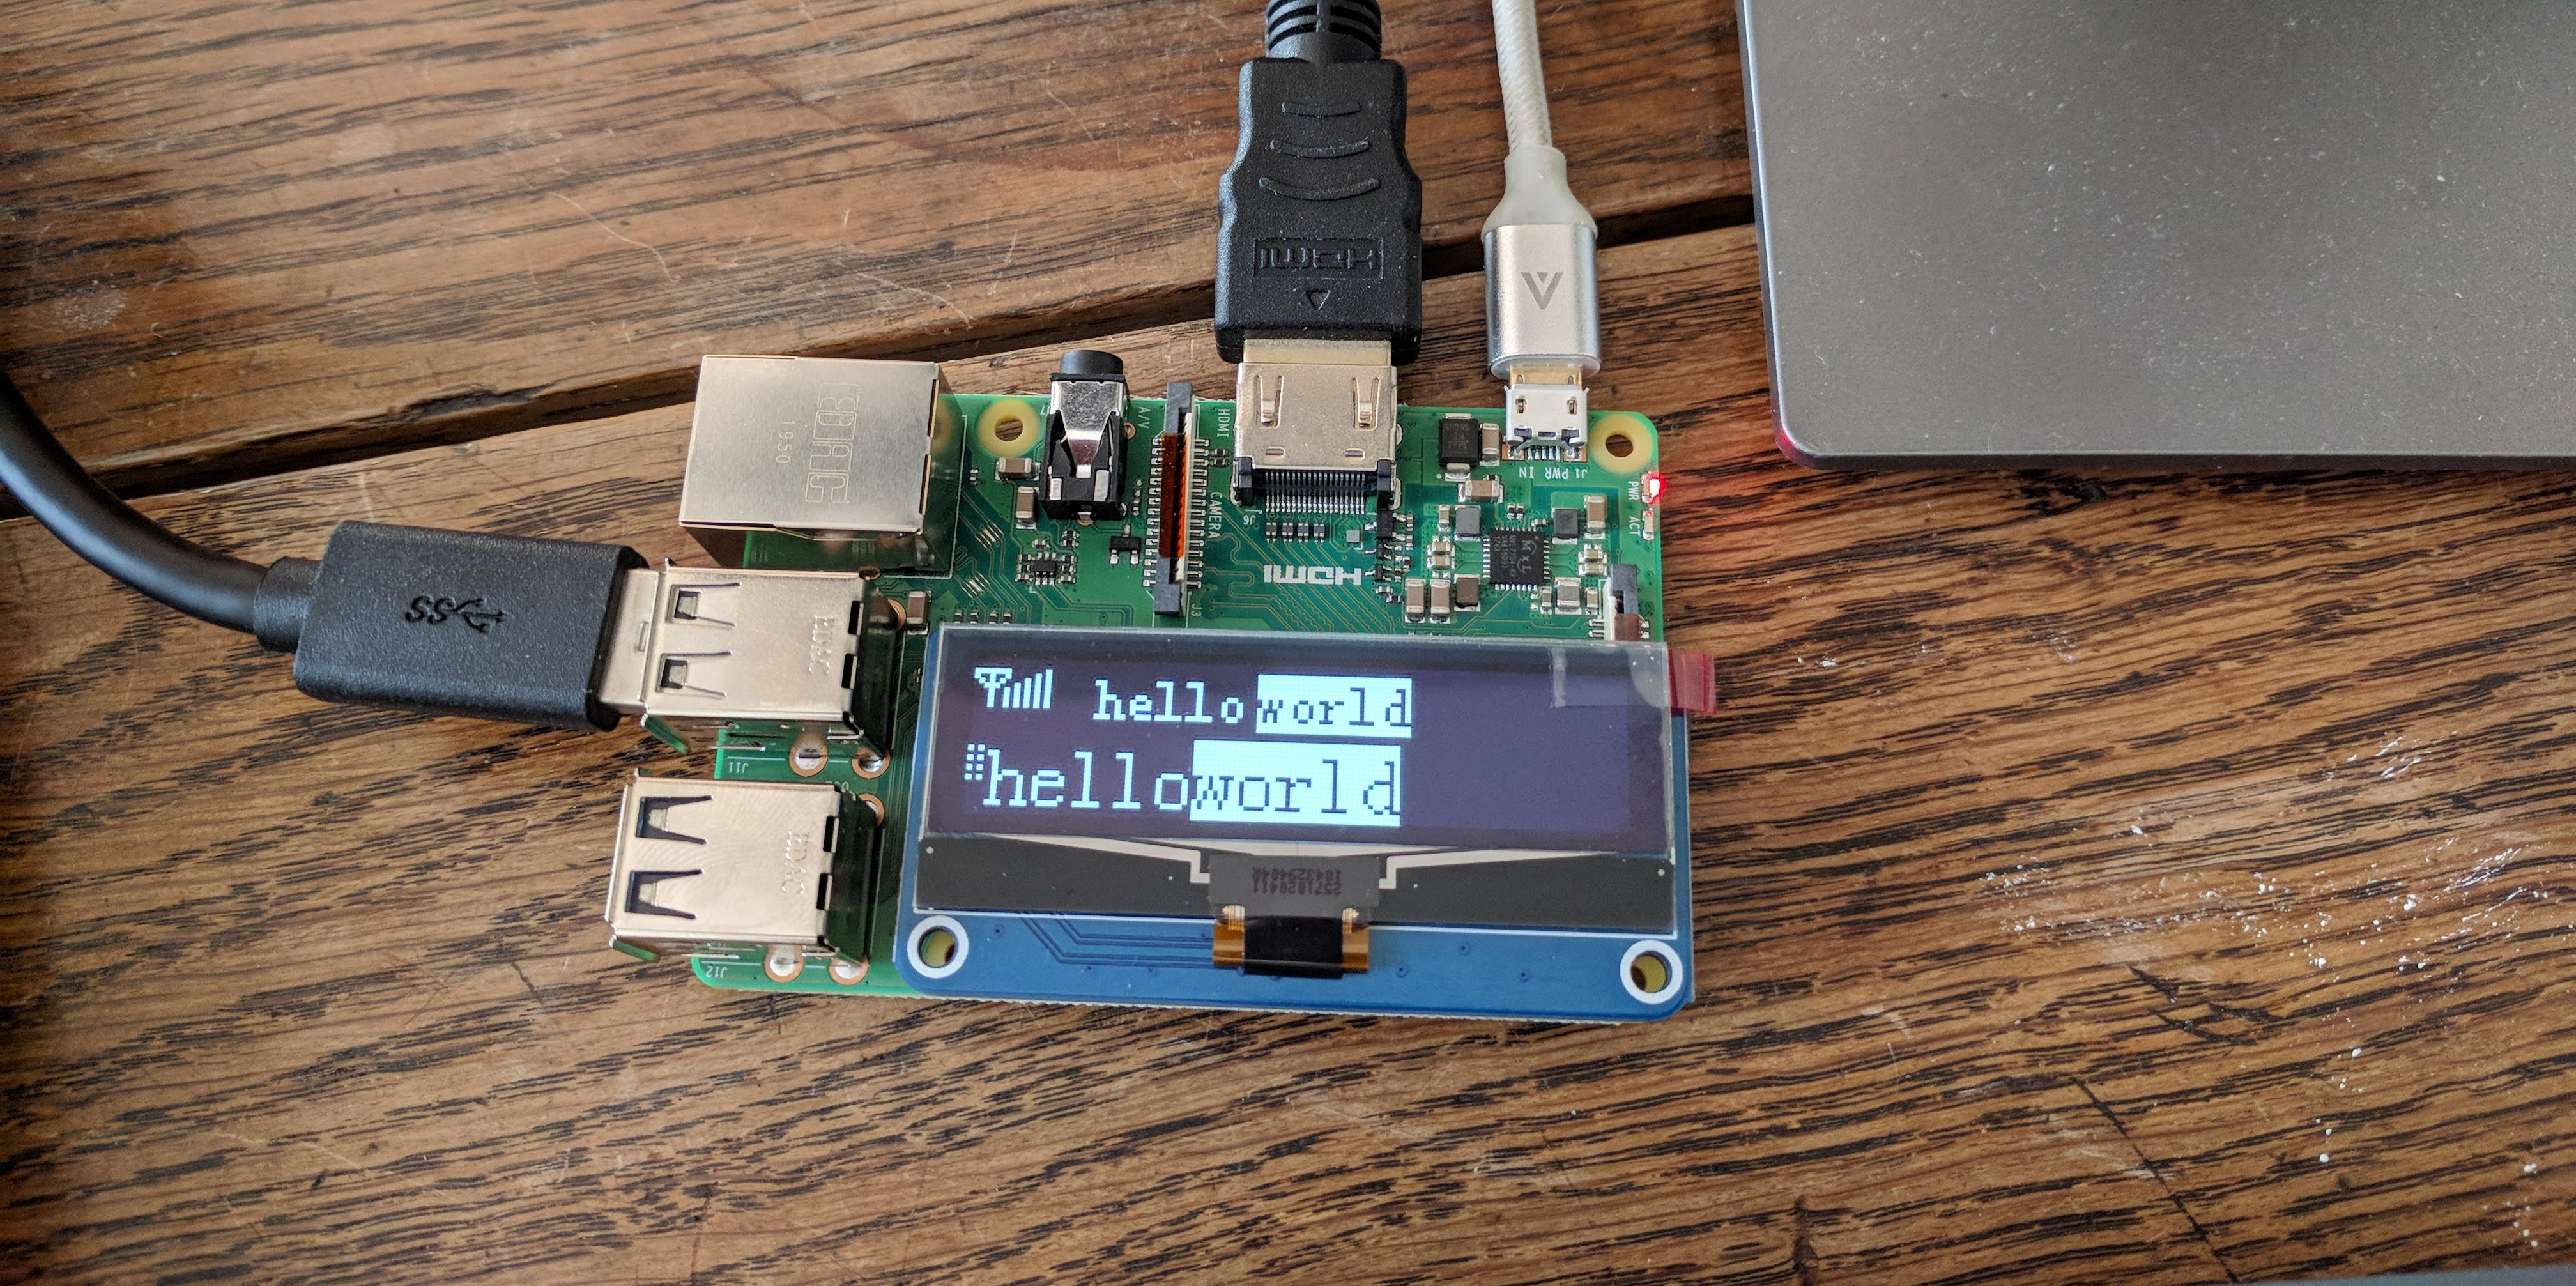
Despite the above, the current wiringPi sample still works well. In theory I'm sure it would have been absolutely possible to complete the rest of the project in C. As a language though, C tends to come batteries-not-included. The prospect of stumbling my way through image processing, data parsing, fetching URLs and date-time munging did not fill me with joy, especially given my rudimentary C experience. I'd much rather be building sand-castles in a play pit that didn't require me to build my shovel first.
I've been "Rust-curious" for a long time, and it's done a great job of establishing itself as an alternative for workloads where C was historically the only viable candidate(high performance or memory-constrained). That it does so without forsaking a first-class developer experience is one of the many reasons it's become such a beloved language. Through the package manager, cargo, I'd have a thriving ecosystem of 3rd party libraries (aka crates) within arms reach. Indeed, I quickly found rppal (Raspberry Pi Peripheral Access Layer), a Rust crate to manage GPIO.
# Using crates is simply a matter of editing the cargo.toml file

[dependencies]
image = "0.23.8"
chrono = "0.4"
serde = { version = "1.0", features = ["derive"] }
serde_json = "1.0"
toml = "0.5"
ordered-float = "2.0"
reqwest = { version = "0.10", features = ["json"] }
tokio = { version = "0.2", features = ["full"] }
simple-error = "0.1.9"

[target.'cfg(target_arch="arm")'.dependencies]
rppal = "0.9.0"
There were also plenty of reasons not to choose Rust. Scant few weeks remained until the birthday party; if we were going to pull off the surprise it meant sticking to a very aggressive timeline. rppal is not a port of wiringPi, the SPI protocol implementation details might differ in subtle but fundamental ways, enough to bork the entire endeavour. Rust's borrow checker is infamously unforgiving to the uninitiated (it's a bit of an arsehole really). If I was being a responsible lead I'd probably command the troops to trudge on with C. But hack projects really should be about personal edification. So sod it, how hard could it be?
Programming the App
Lets just say I got a beating, the likes of which demand a doughnut-shaped cushion afterwards. Rust's learning curve is notoriously steep, and hoping to grok it on such a tight schedule was perhaps optimistic. To Rust's credit, there are plenty of escape hatches to get yourself out of (or into) trouble. This is useful when writing your own code, but by consuming 3rd party libraries you're expected to be more fluent with "idiomatic Rust".
(In part 2 I go in depth into my technical first impressions of Rust).
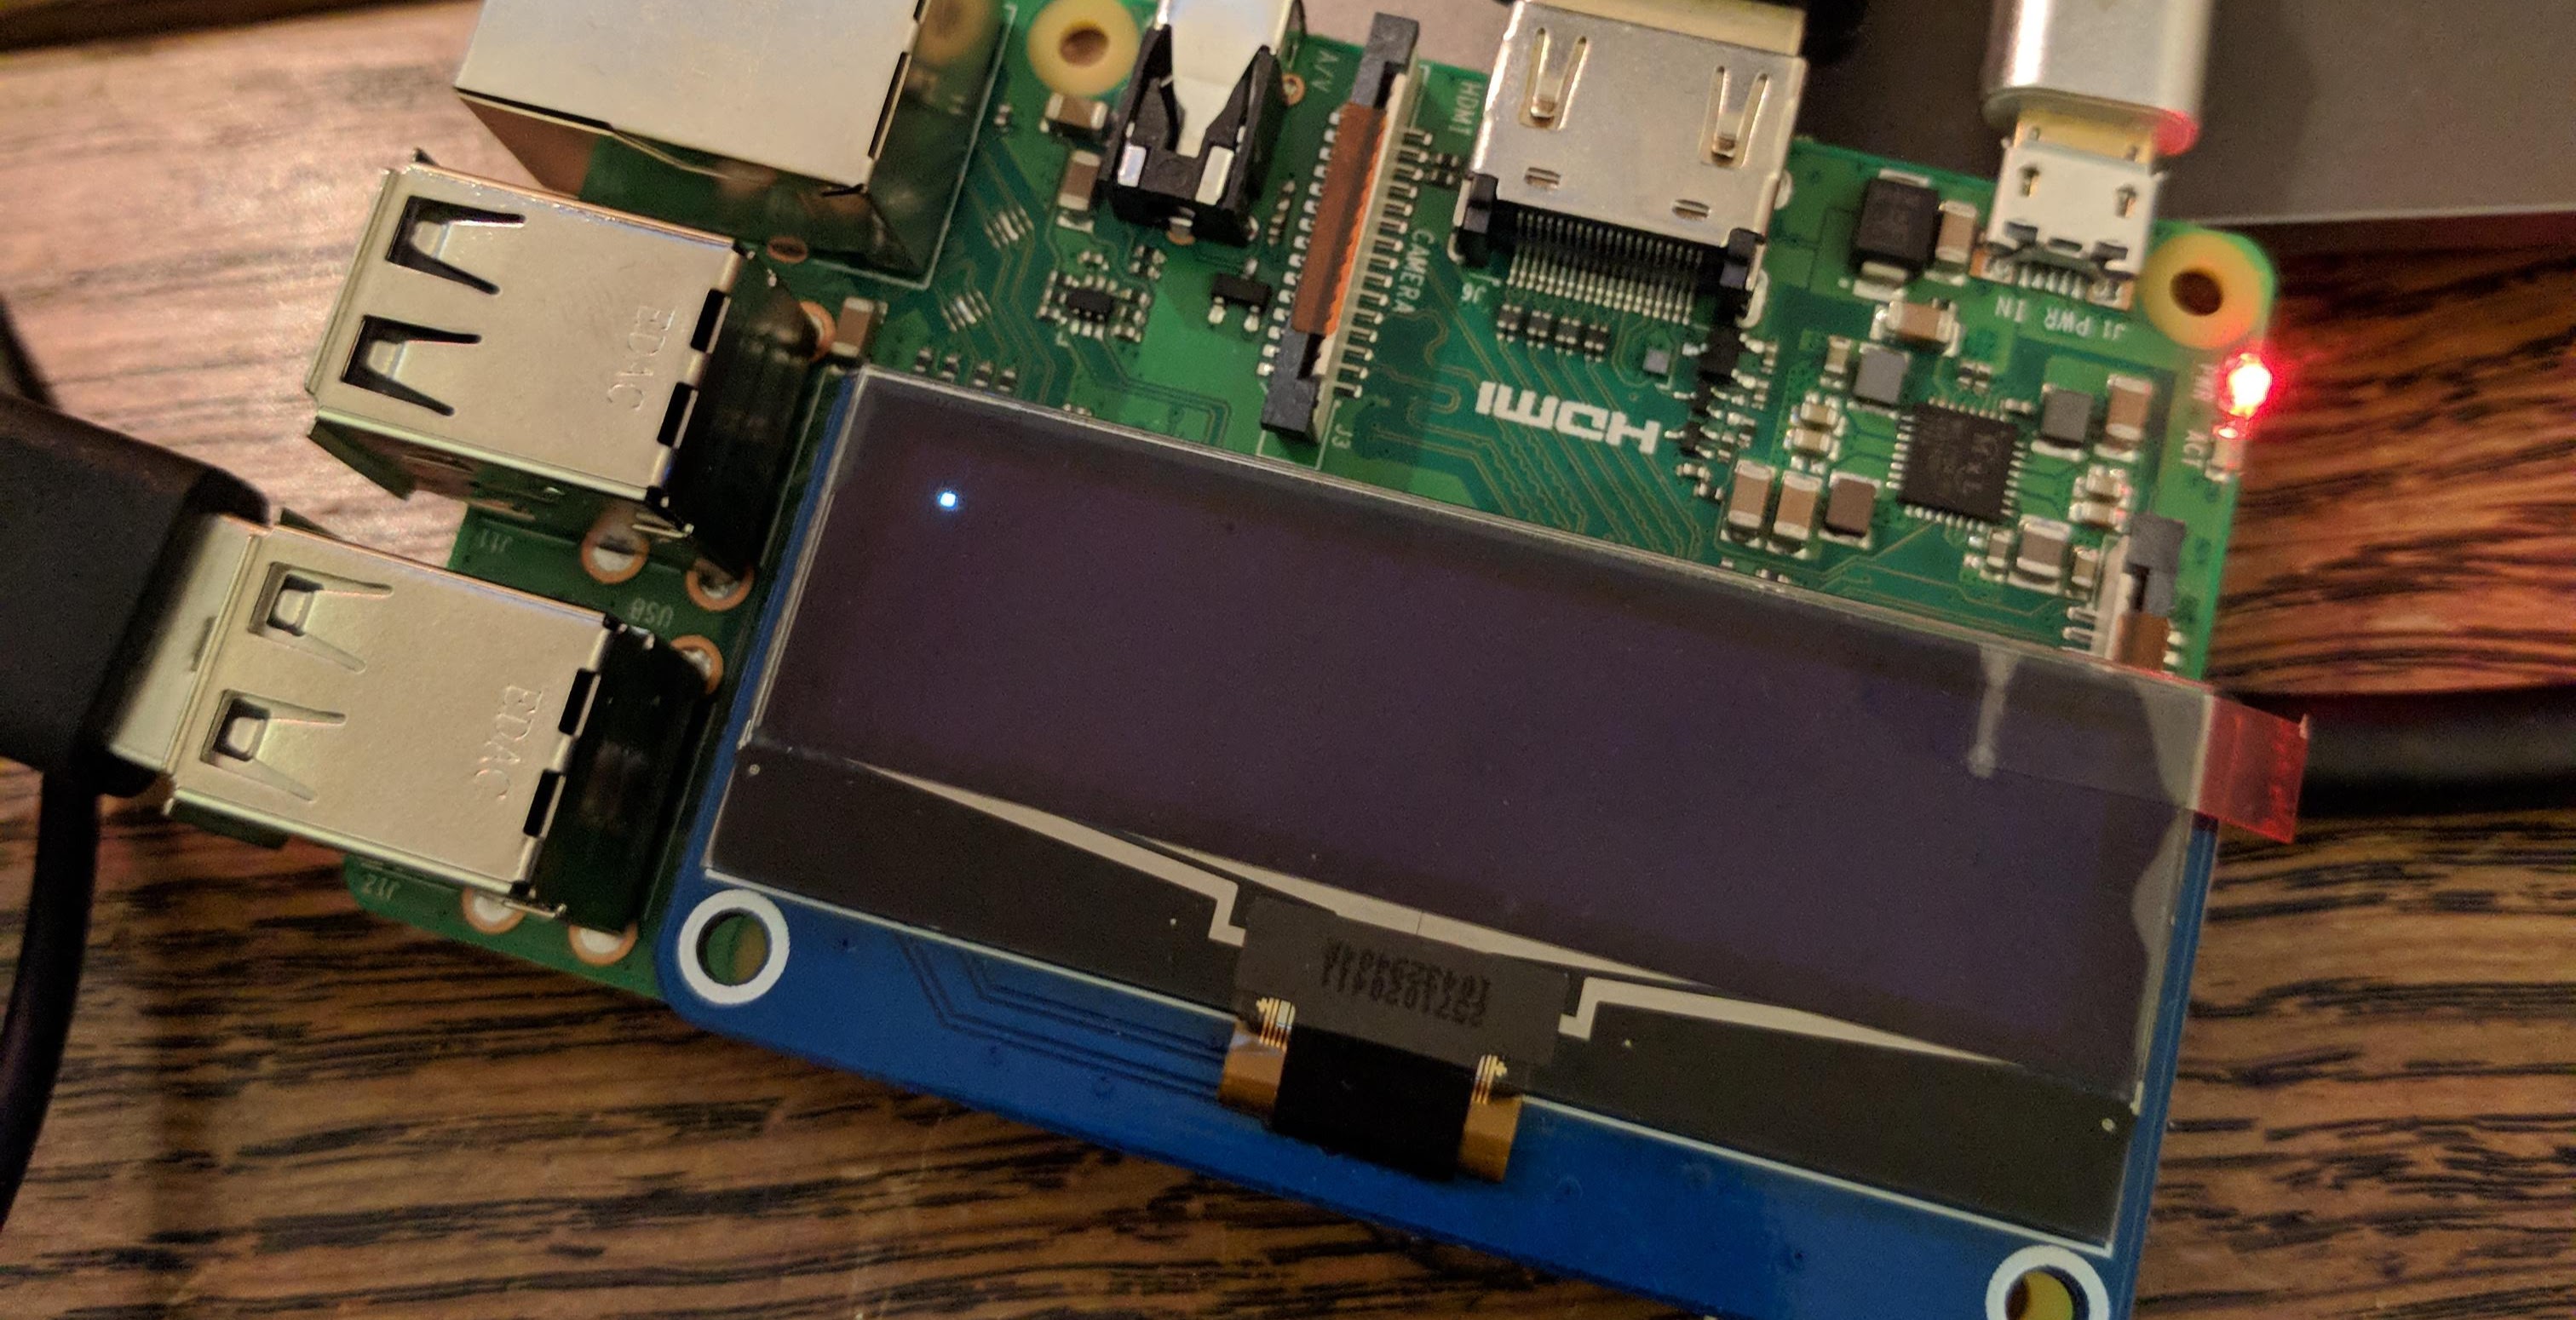
Idiomatic understanding is difficult to rush, as it requires a breadth of exposure. I'd fare better now, but as my first-touch point I simply couldn't figure out how I was meant to consume the rppal library. Combing the changelog revealed a big refactor towards a more idiomatic and Rust-like API. By reverting to an earlier less idiomatic version I'd found a cheeky get out of jail card. Breakthrough, at last, a single pixel signalled business time.
Interface and UI
Now that drawing was possible, the next question was a matter of what to draw? In answer, I cracked open a pixel editor and performed a design sprint in miniature. Several iterations later I had a single image that served as my "design document".
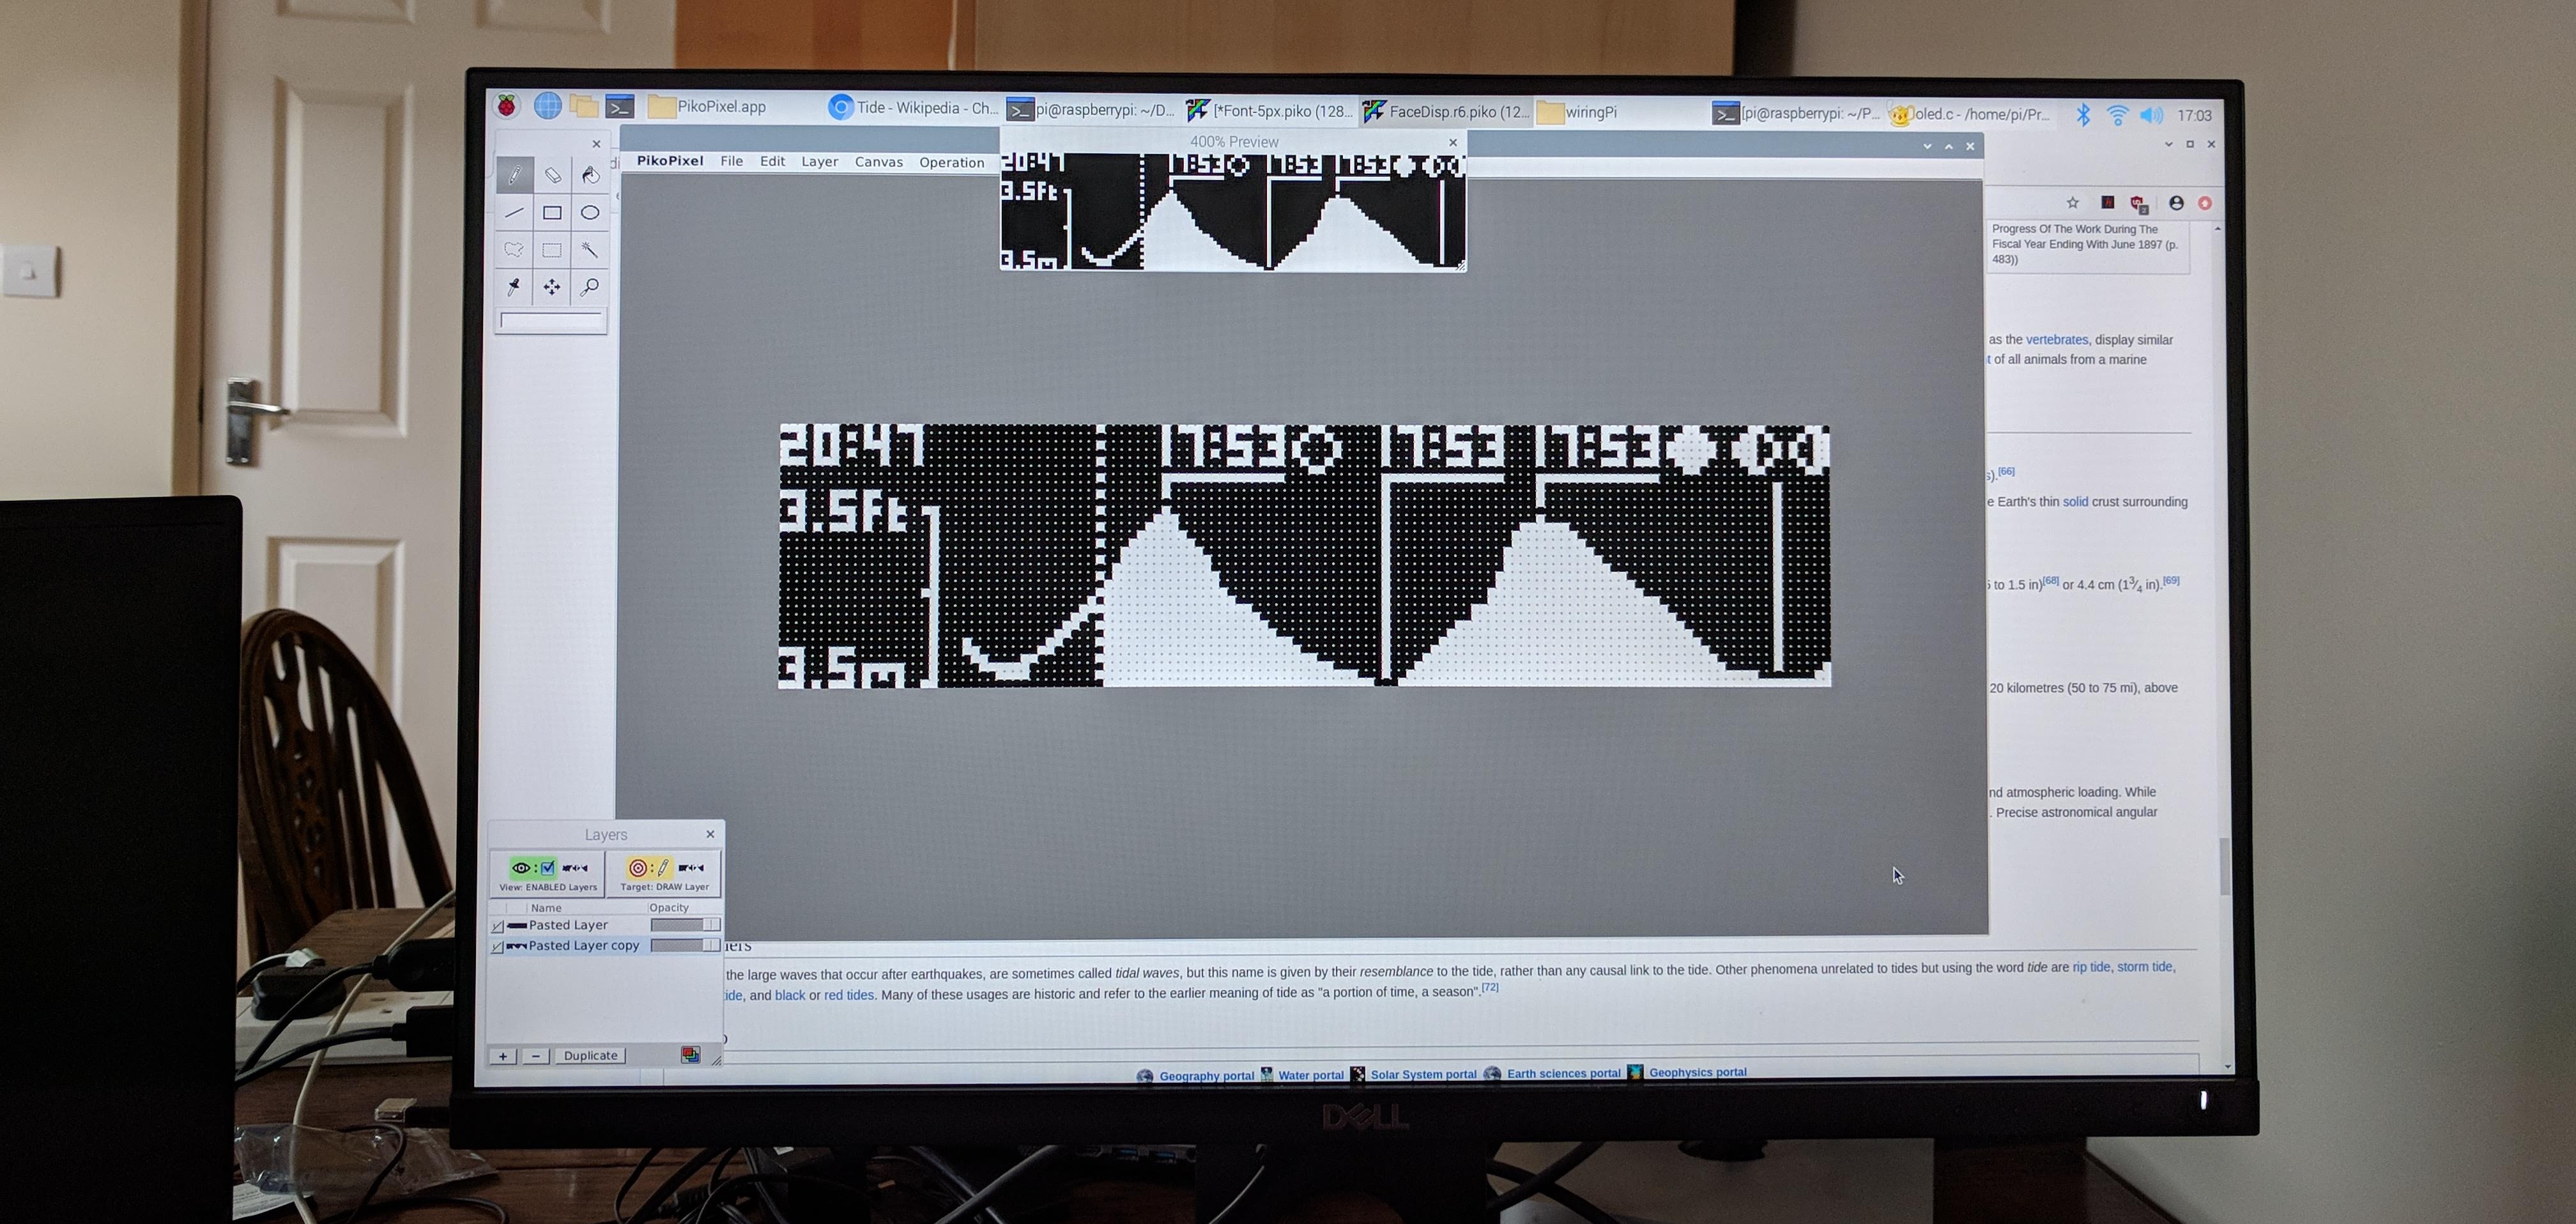
That's a great example of why this project was so much fun. The problem space left room to flex muscles in every layer of abstraction, whilst being constrained enough to avoid becoming an onerous chore. Font rendering is another example. By using the old school technique of copying slices from a sprite sheet I didn't have to bother myself with font files or font rendering libraries.
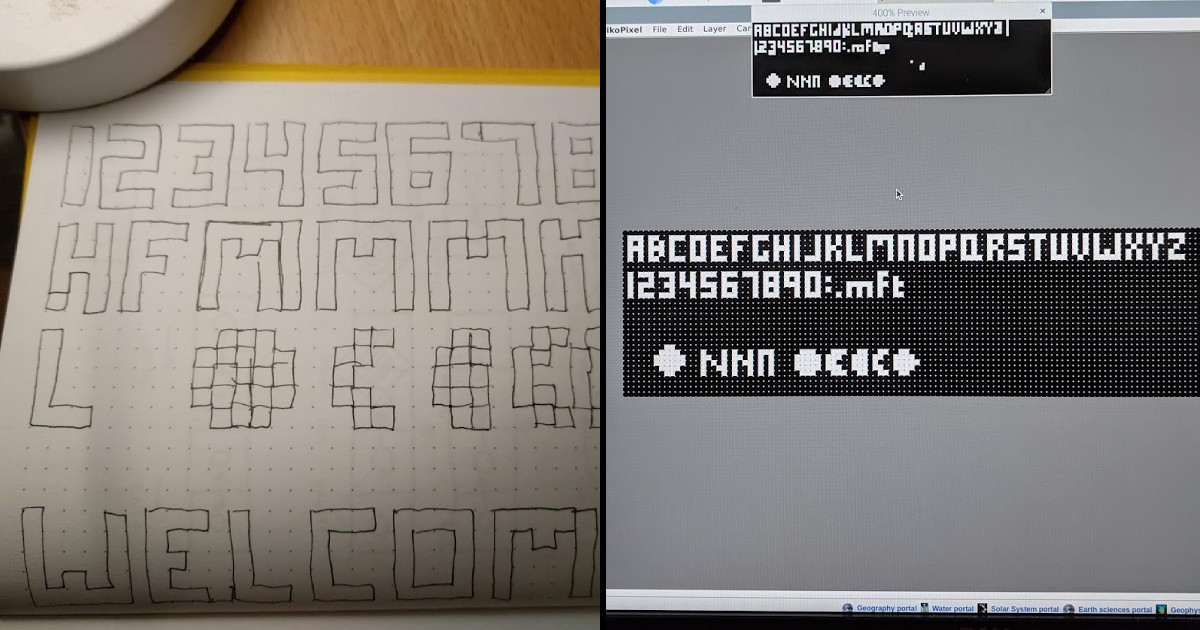
To help me copy slices I relied on the image crate. Again there was a high degree of fumbling to get my head around the API, but once I did I was very impressed by the quality of the library. Even if the ecosystem is still technically maturing, the quality already on display announces Rust's arrival as a serious contender.
// Truncated sample of loading font sprite sheet
// and mapping individual character faces

pub fn new() -> Font5 {
    let p = Path::new("resources/Font-5px.png");

    let img = image::open(p).unwrap().to_rgb();

    let mut faces = HashMap::new();

    faces.insert('1', img.view(0, 0, 1, 5).to_image());
    faces.insert('2', img.view(2, 0, 3, 5).to_image());
    faces.insert('3', img.view(6, 0, 3, 5).to_image());
    ...
    faces.insert('X', img.view(95, 6, 3, 5).to_image());
    faces.insert('Y', img.view(99, 6, 3, 5).to_image());
    faces.insert('Z', img.view(103, 6, 3, 5).to_image());

    Font5 { faces }
}
Up till now, I had been doing all the development directly on a Raspberry Pi 3. It worked well enough, but I was sorely missing the quality of life features I could enjoy in a full developer environment. The image crate was convenient enough that I started using it for other drawing operations too, until I realised I could use it for everything. This was the perfect layer of abstraction. On the Pi, I could back-buffer copy the "render texture" to the screen, and on Windows, I could simply save it out to a bitmap.
Gaining access to Visual Studio Code and the Rust Analyser finally tipped the balance of productivity my way. Rust Analyser, in particular, was key, as it gives you code hints and type labels. This helped me understand how I had stubbed my toes on the various APIs before.
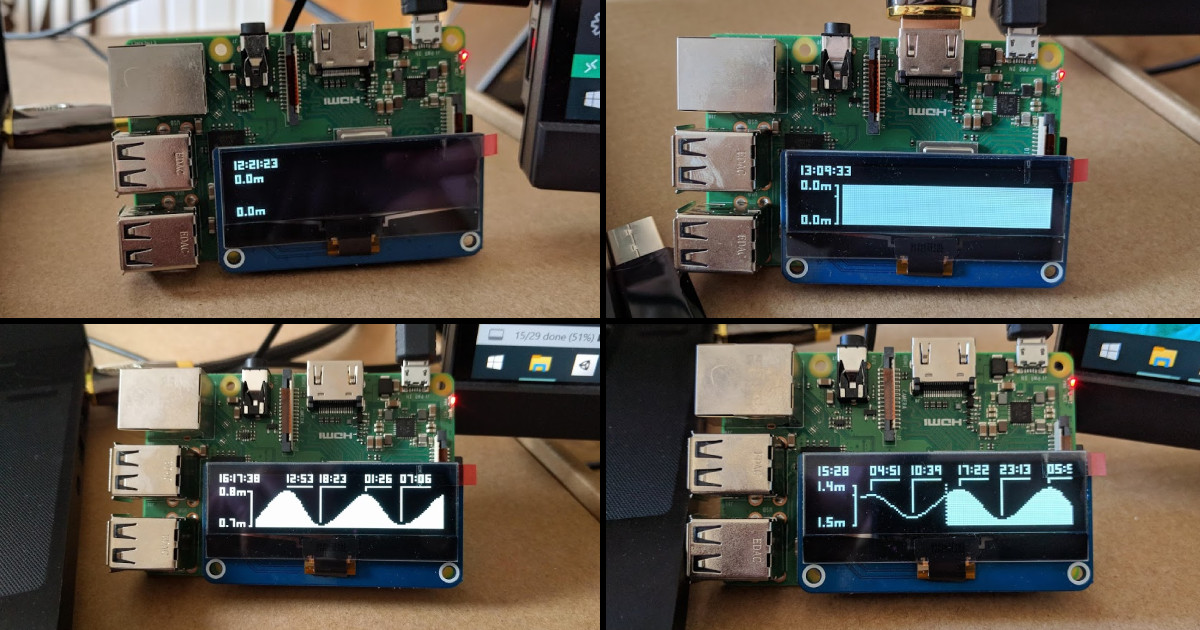
From here on in, it was just about filling out the details. I created a simple text field struct I could reuse for all of the text labels. Simple line drawing routines helped me draw straight edges. The graph is just a series of vertical "lines", one for each data point from the backend API. To create a stronger visual contrast between past and future, I deployed a rudimentary flood fill algorithm to "erase" the fill and only leave only the water level outline.
Tidal Data API & Backend
Finding a reliable and accurate source of tidal data was a cornerstone of the entire project. Tides by nature are more predictable than weather, so I reasoned I'd stand a good chance of finding something free and open online.
What I instead found was a trail of former glories and broken visions. Data sources that had once been free were now either shuttered or been closed off by paywalls. In some cases, these paywalls were outrageously steep. Data used for navigation purposes indeed seems to be a cut from a different cloth to recreational data, but still no way we could justify such costs.
An interesting open-source option is XTide. It's essentially modelling software, and by providing harmonic oscillations from tidal station measurements you can compute your own tide tables. If you feel intrepid enough this is probably the only completely free solution.
In the end, I settled on worldtides.info. It's a paid-for service, but prepaid credits allow a single user very economic access. By being frugal with my API calls I calculated $10 was enough to last several decades! Hopefully, this doesn't jinx it, but long may a subscription-free option last.
The WorldTides API is clean and well thought out. There's a convenient web console to explore the available data. The API can also specify step size. A nice win as I didn't have to worry about resampling or aliasing issues. I could simply ask the API to give me samples that matched the resolution of my graph.
Disaster at the 11th hour
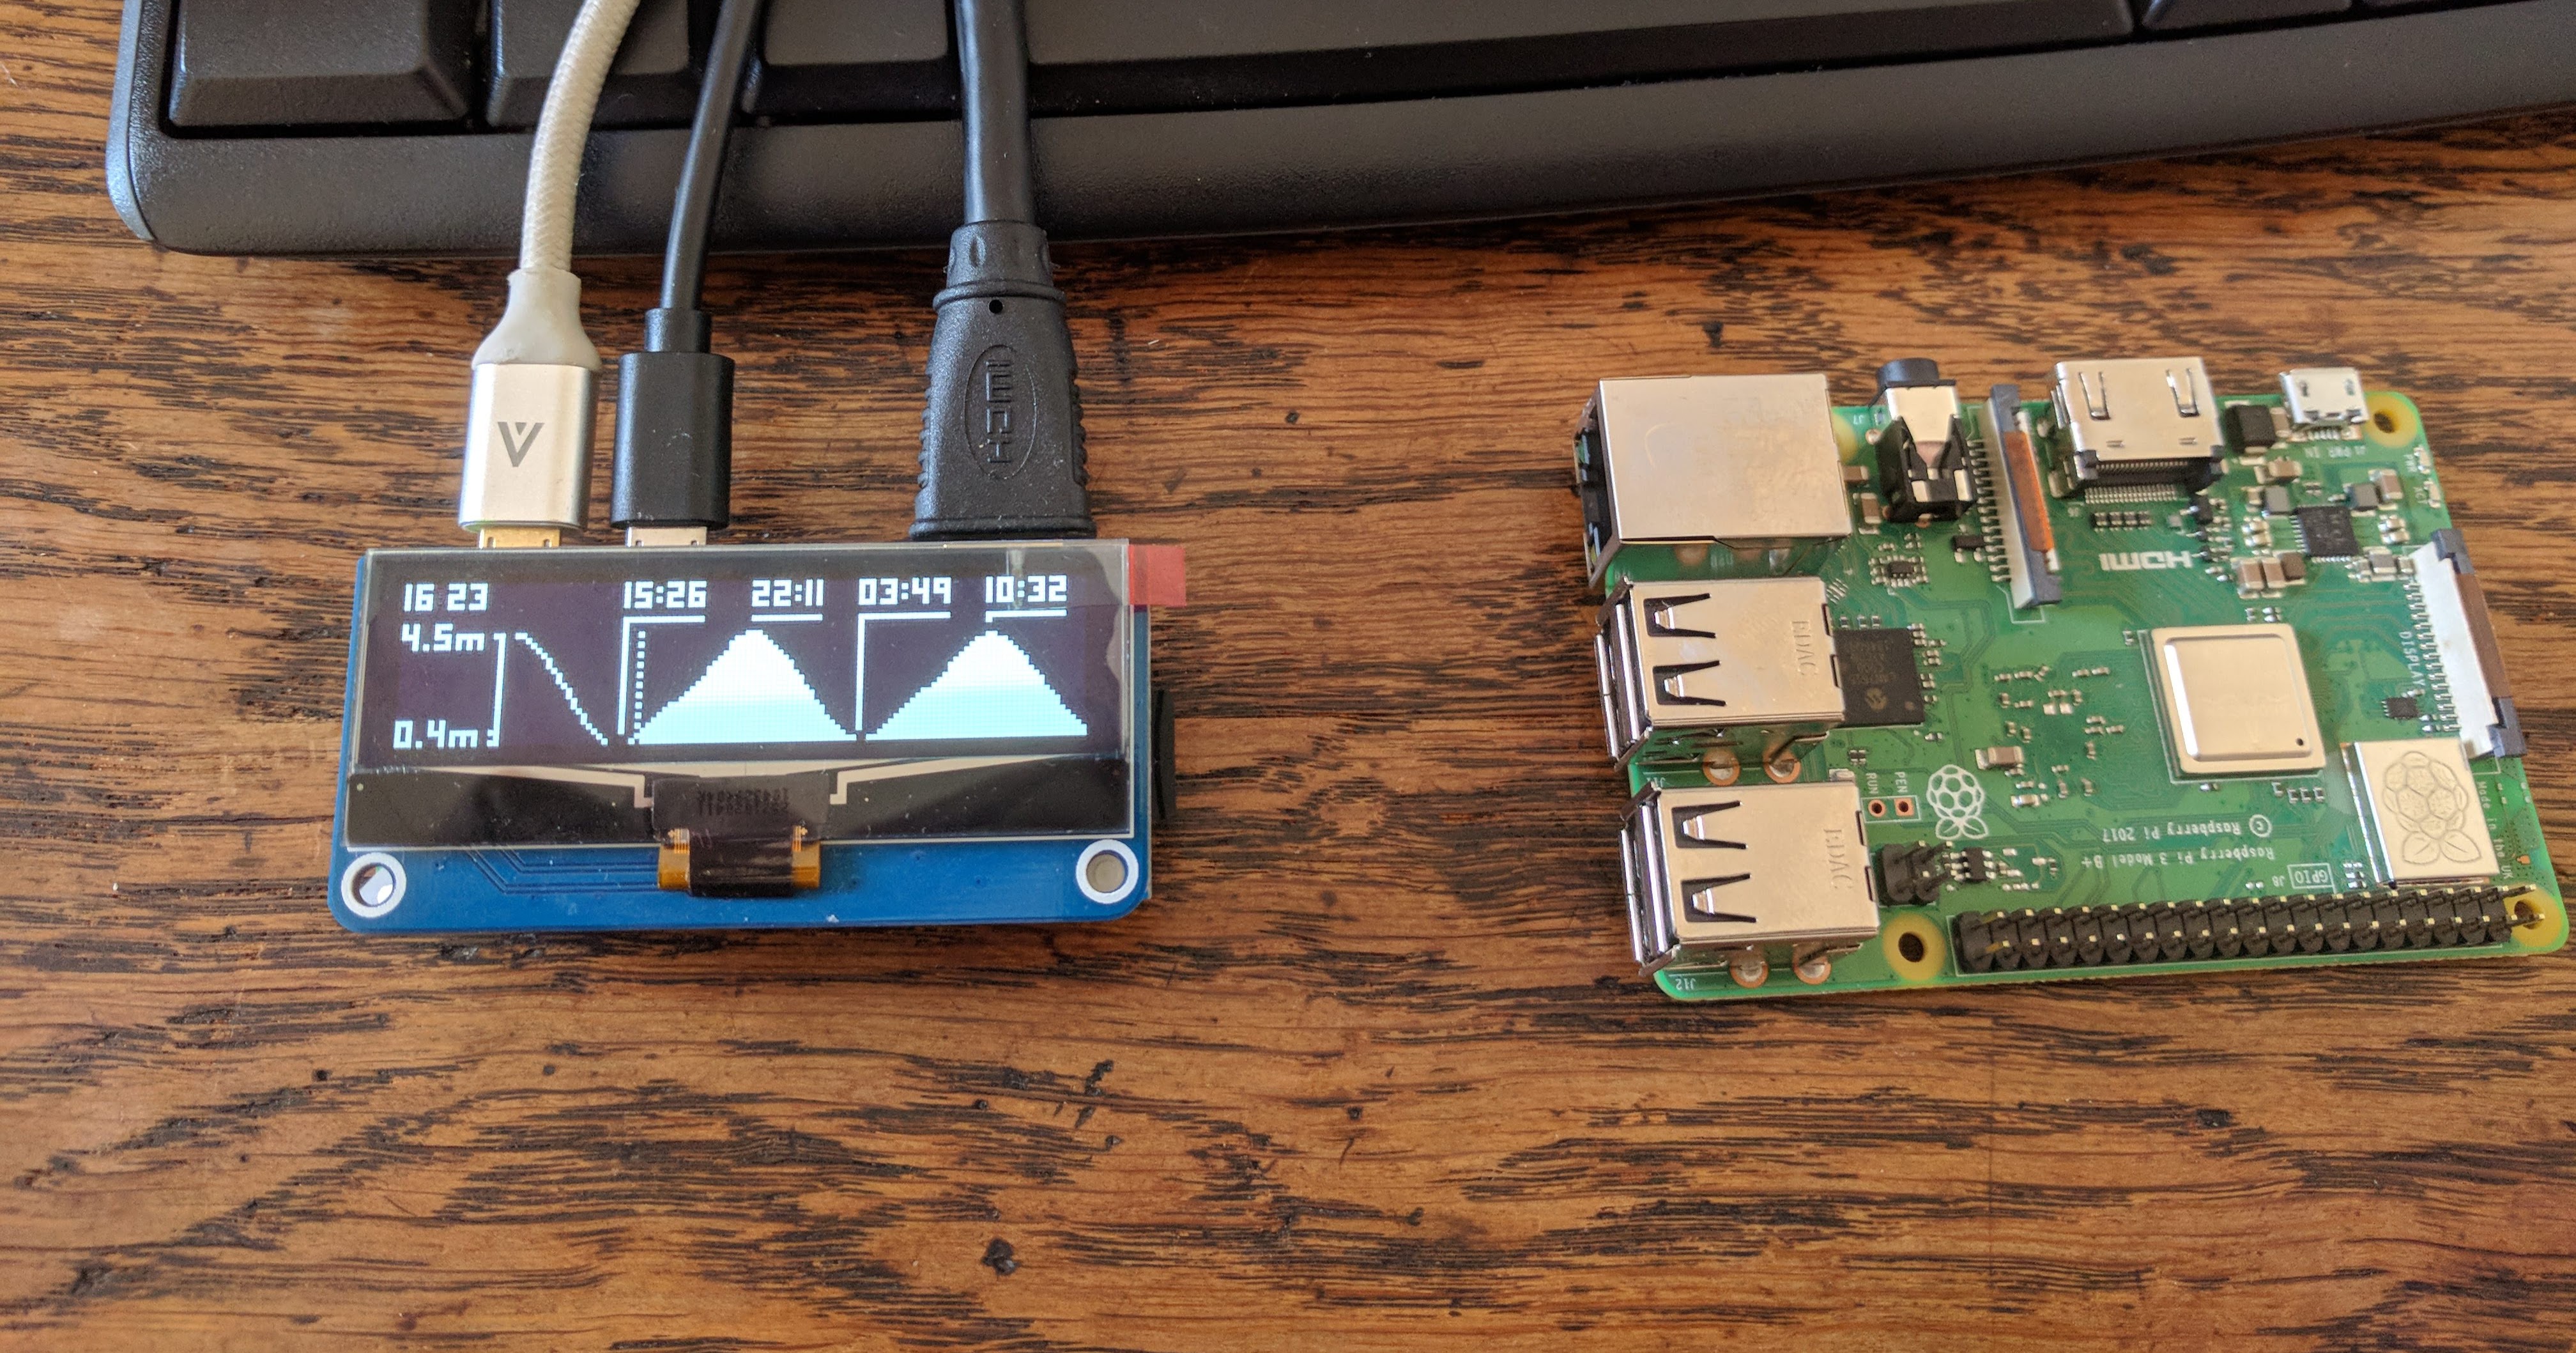
Throughout the project, I had been testing iterations on a Raspberry Pi 3B+. However, the soldered on Ethernet and USB ports meant it didn't quite fit into the planned enclosure. No worries, we could "ship it" with the smaller form factor Raspberry Pi Zero W. Assuming I kept the Pi 3 for future endeavours, the reduction in overall build cost was a bonus.
It still blows my mind you can buy a working computer for $10. Granted it's more like $25 by the time you've got all the necessary cables and bits - but that's still a crazy feat. Better hope you're not in hurry though because the processor is a bit of a potato. But for this use case, it was plenty.
In my mind, the substitution was simply a matter of swapping the SD card between the two devices. However, running the application spat out only Segmentation Fault. Oh dear! Turns out the Zero uses ARMv6 while later Pi models use ARMv7 chipsets. After a bout of excessive swearing, I resigned myself to the fact I was going have to do some real software engineering.
Whilst Rust has a very good cross-platform compilation story for the platforms you expect, this was entering swampy waters. After several false starts, I finally cobbled together a reliable build pipeline. Based on this fantastic explanation by Piers Finlayson, I was able to use his provided docker image as part of a Gitlab build script. This meant every time I pushed to my Gitlab repo it would make a new ARMv6 build for me. Not quite as convenient as cargo run, but it would do.
Enclosure and Physical Build
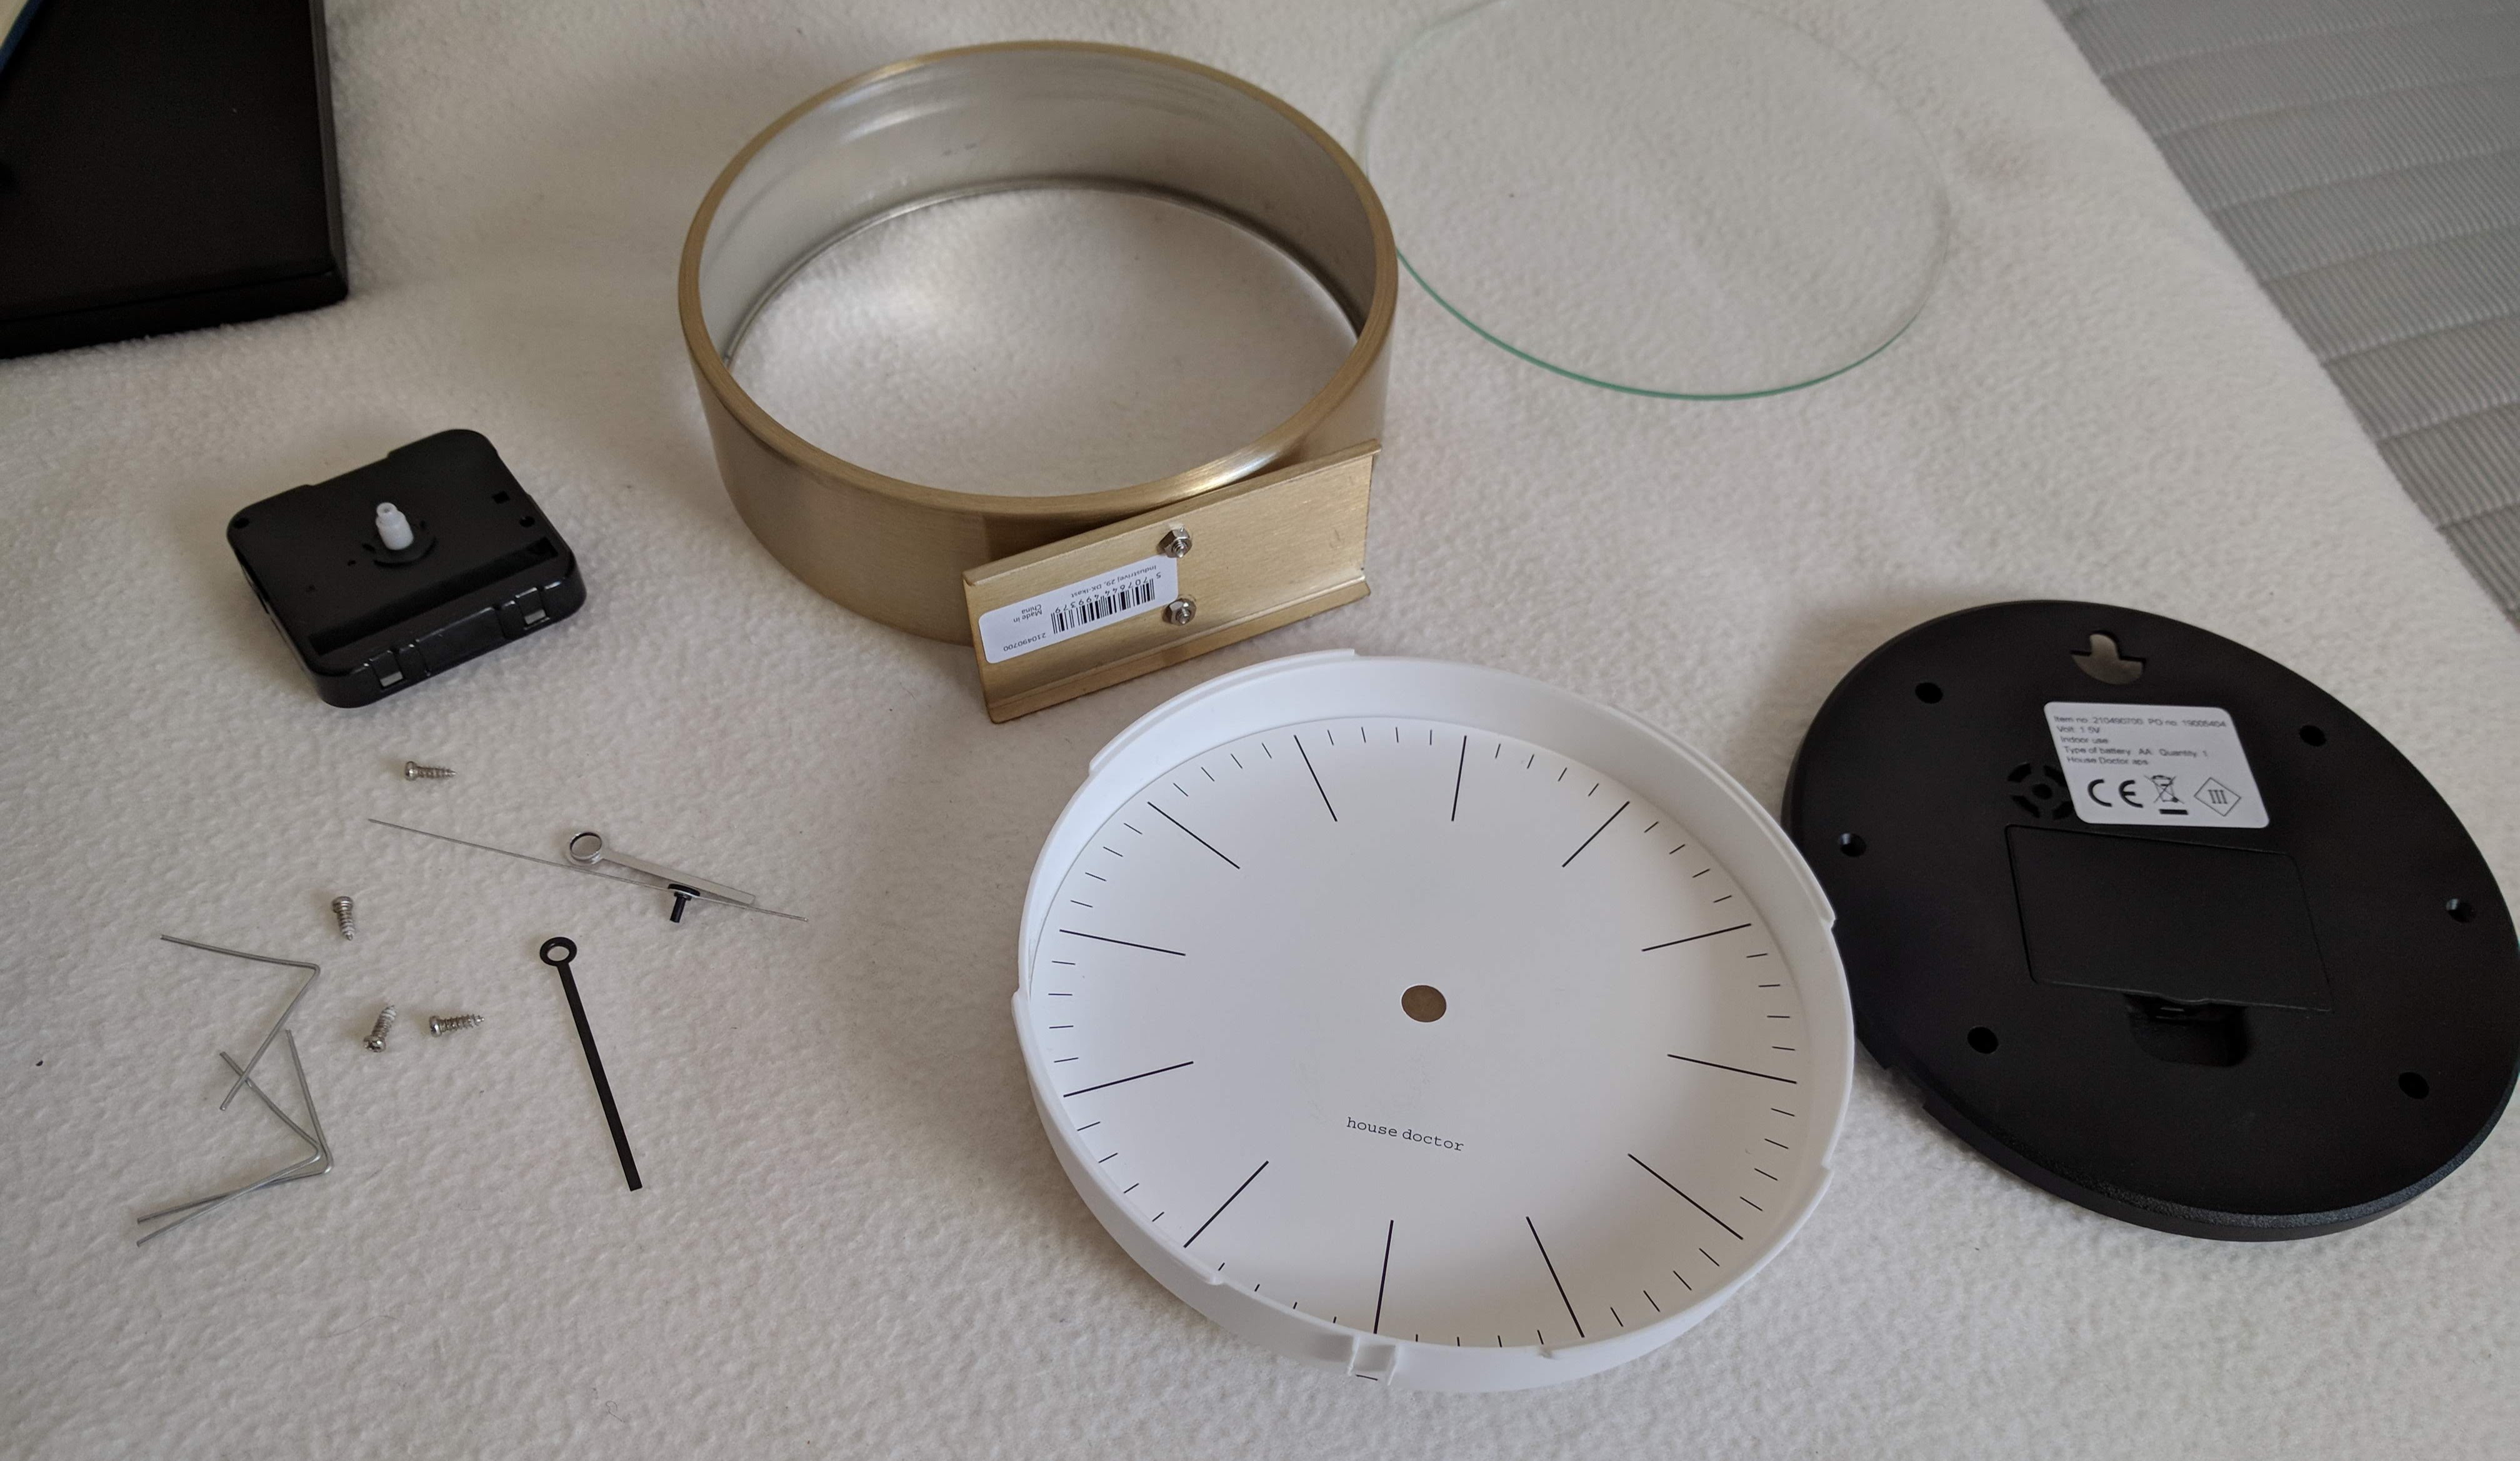
Whilst programming was unfolding, in parallel, we set about constructing a home for the Pi. A pandemic preventing access to a maker space or workshop was a unique challenge. But as ever, constraints breed creativity. Partially inspired by the existing tide clock, we struck upon the idea of using a clock as a cheap but good looking shell.
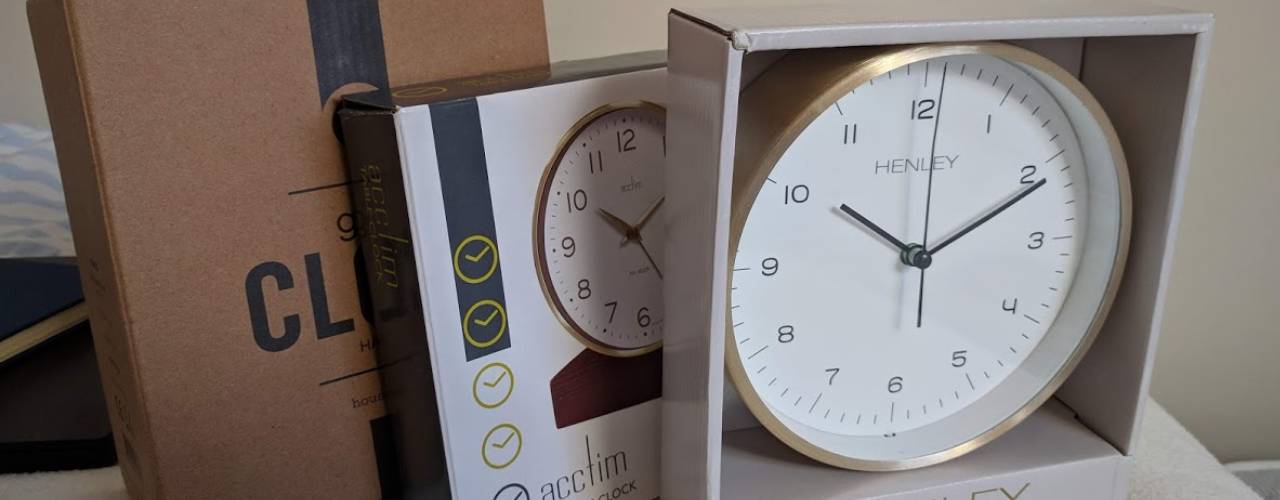
Unable to predict what each one would look like internally, and given the looming deadline, we gave ourselves three to choose from. We carefully disassembled each one to size up dimensions, ease of access and ventilation (I didn't want to burn the house down). After selecting our winner we carefully put the other two back together and returned them to Amazon.
Designing the Clock Face
Throughout the summer Tim had been sharing with us wonders of the cosmos during a bumper astronomical season. The Dragon Crew Capsule flyover, the comet Neowise, Saturn and Jupiter in opposition, later joined by Mars. Your first sight of Jupiter's bands or Saturn's rings through the telescope eyepiece is the kind of memory you keep for life.
Whilst a lunar theme would've been the obvious choice, a star map on the day of his 60th birthday seemed like a more fitting tribute to our summer. This was inspired by services that print dated star maps as unique gifts. Of course, we would have to break out Illustrator and roll our own, but doing so allowed me to sneak in some personalised Easter eggs.
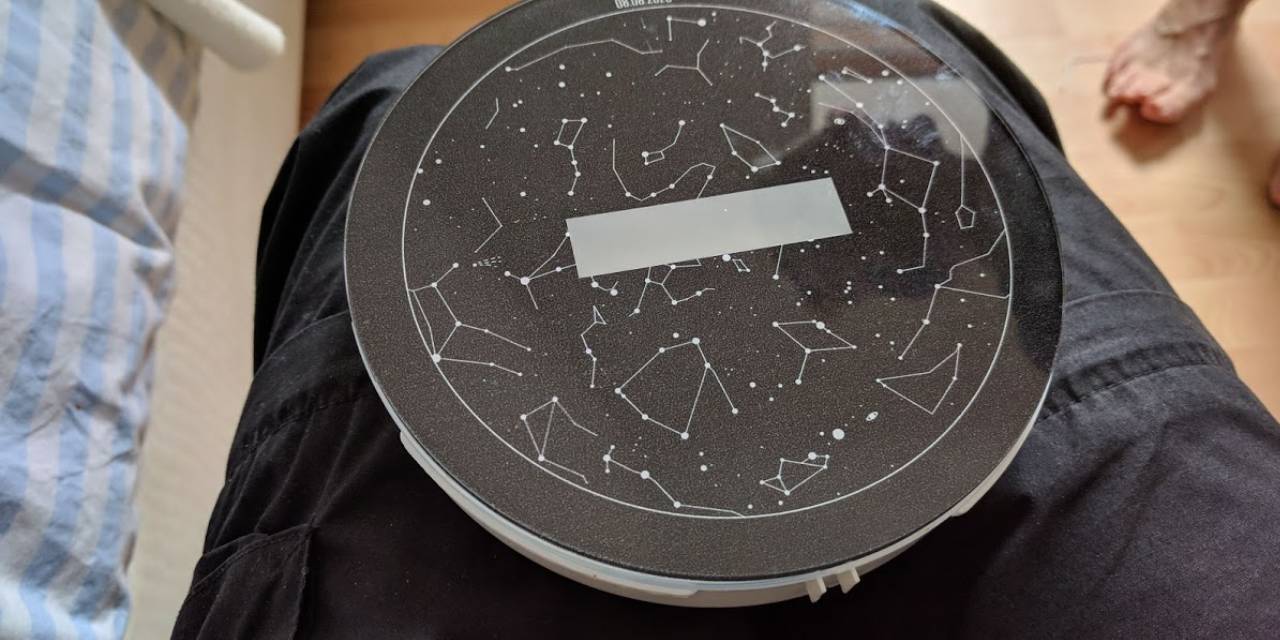
A note about constellations: I had always assumed that there would be some kind of canonical definition of which stars form a constellation. However, after poring over each one individually, sources vary dramatically. I had to make several judgement calls based on aesthetics. Just goes to show what arbitrary concepts they are.
After discussing various means of getting the design printed, it was the print shop that suggested laser cut acrylic backed with vinyl. Outsourcing this part was one of the most expensive parts of the build, but it was also the professional sheen that would elevate the entire gift into something cherishable.
I have to give thanks to Alice, who not only cosponsored the project but also dealt with a lot of the busywork of engaging printers and the like. Especially when the print quality of the first iteration left a lot to be desired, a lot of back and forth ensued. At one point Alice even had one of her designer mates phone the shop on our behalf!
Putting it all together
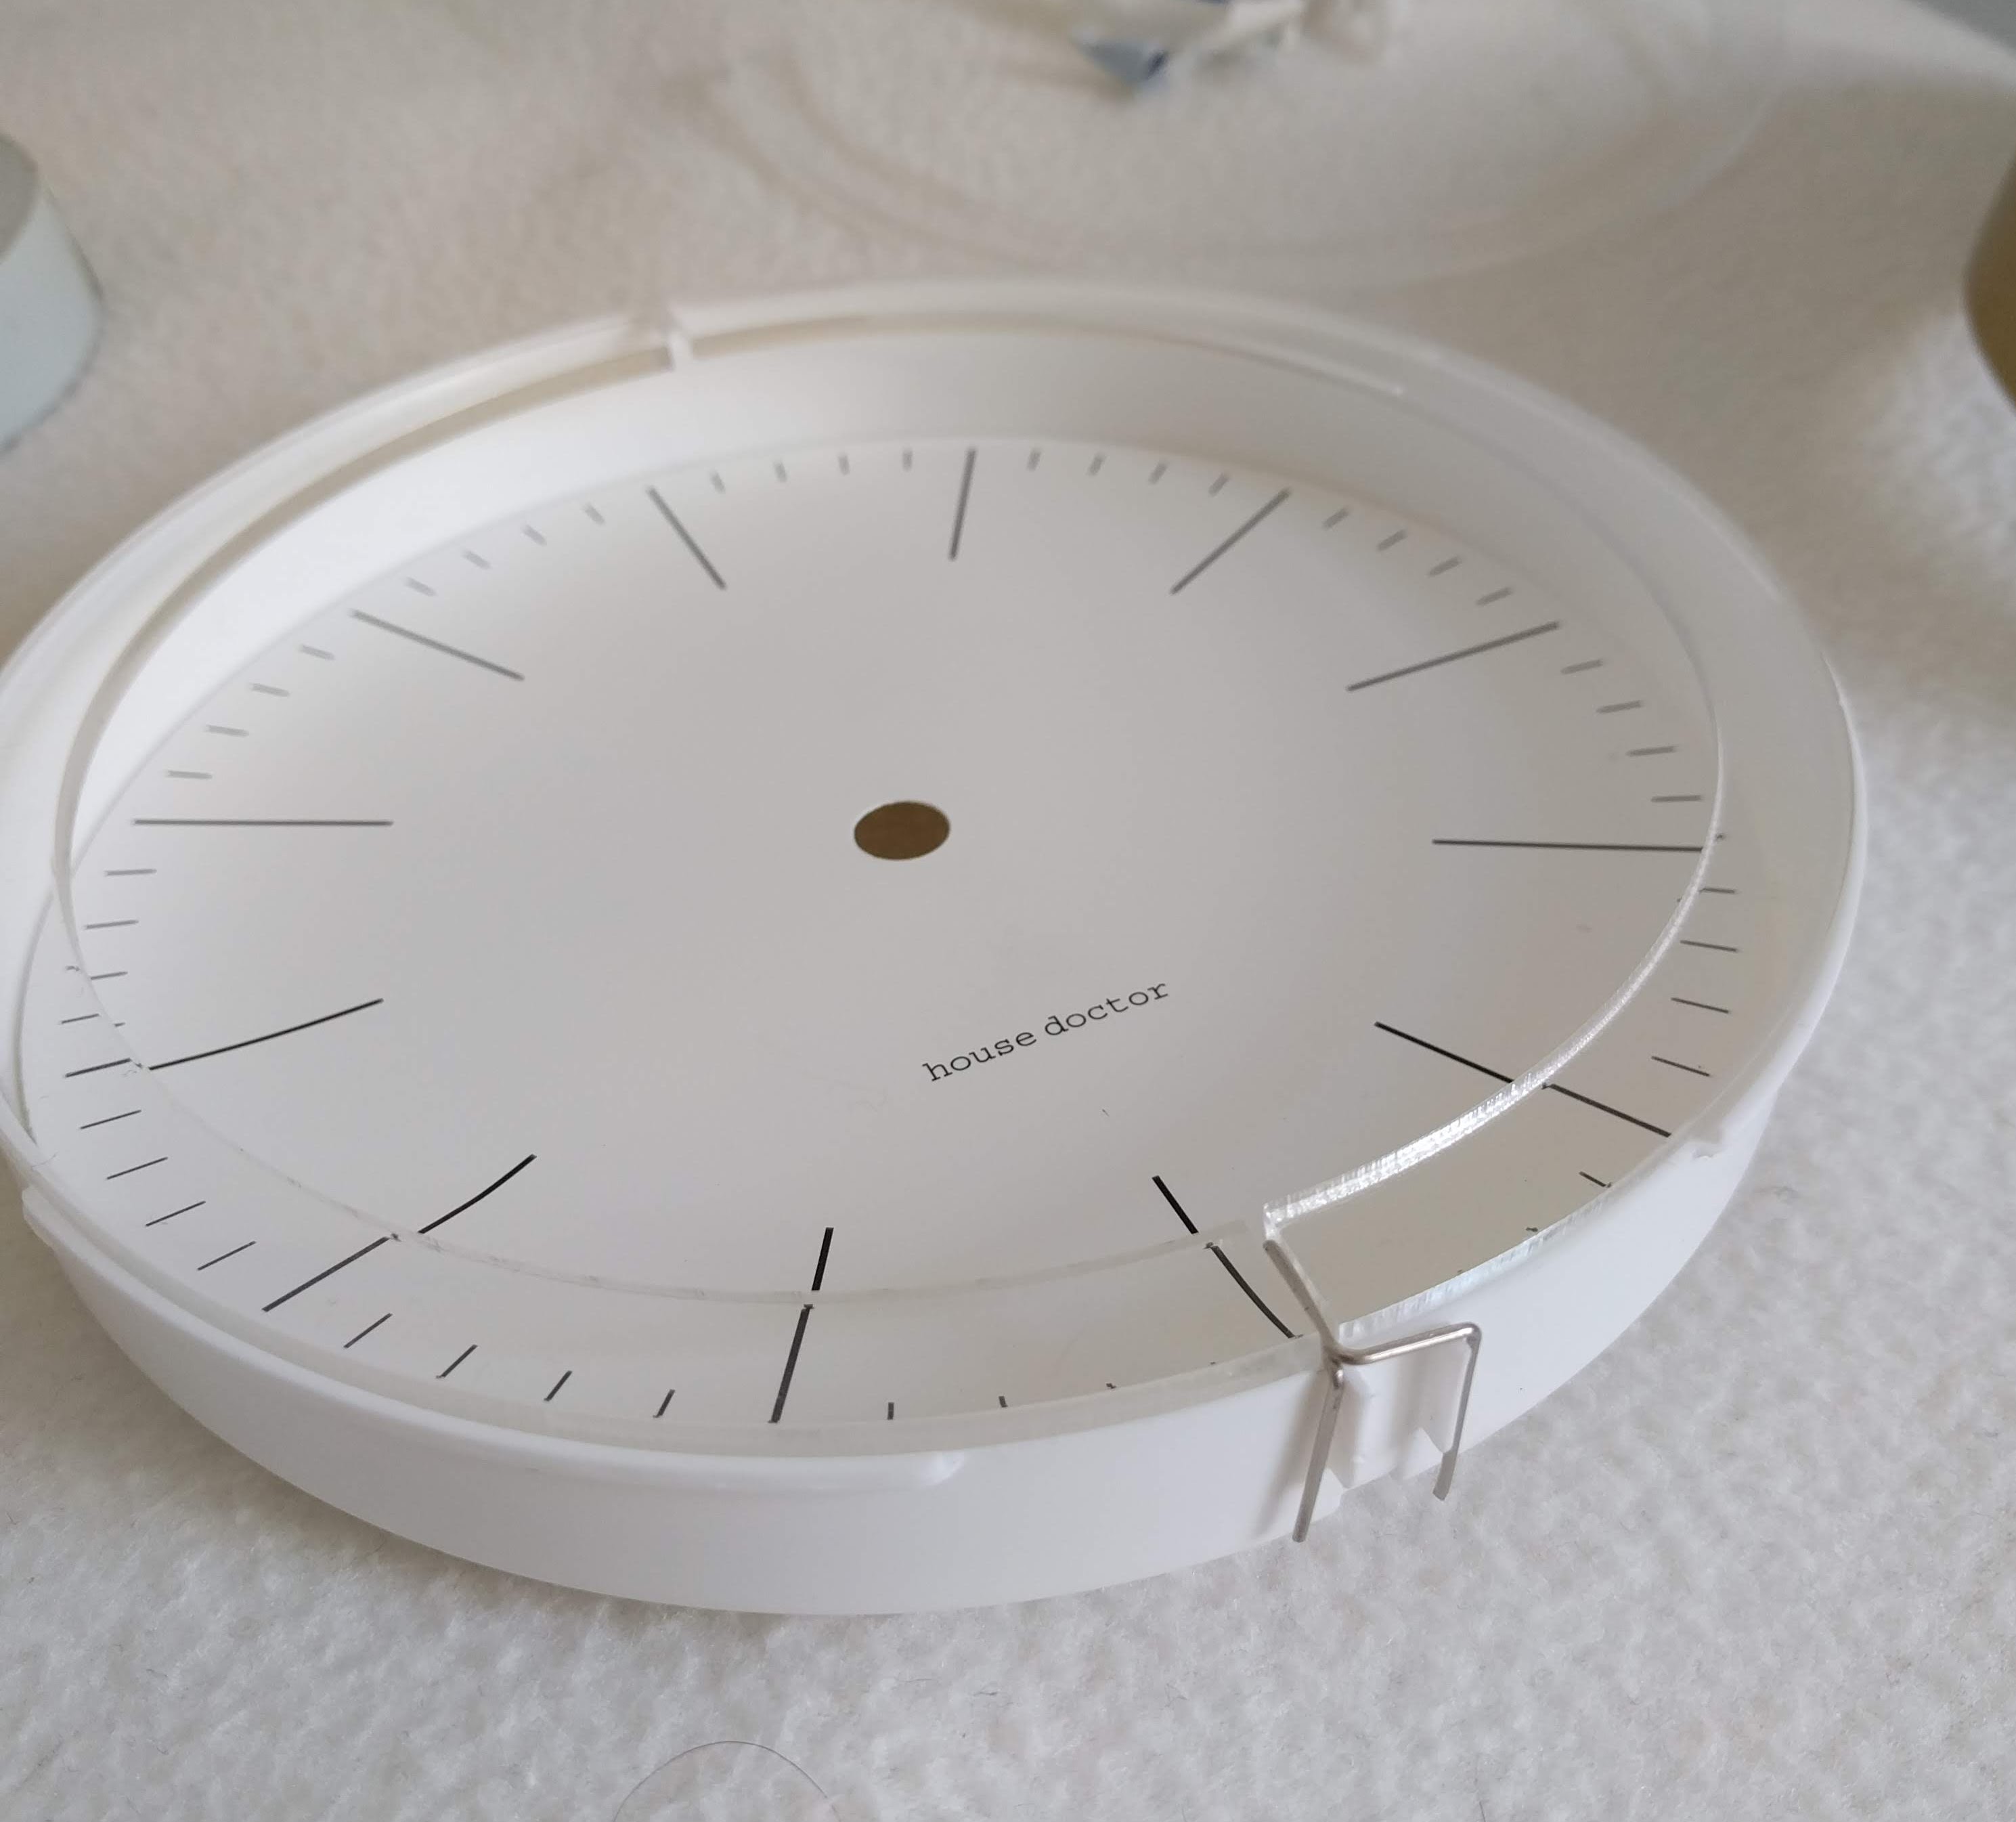
At the time we sent files to the print shop we still weren't sure exactly how it was all going to come together. Seeing as we'd be cutting the face out of vinyl, I included some extra semi circular offcuts in case we needed some spacers. Turns out this was a very smart idea, as I'm not sure how everything would've fit without them. It also allowed us to attached a bent paperclip to make sure the face remained upright.
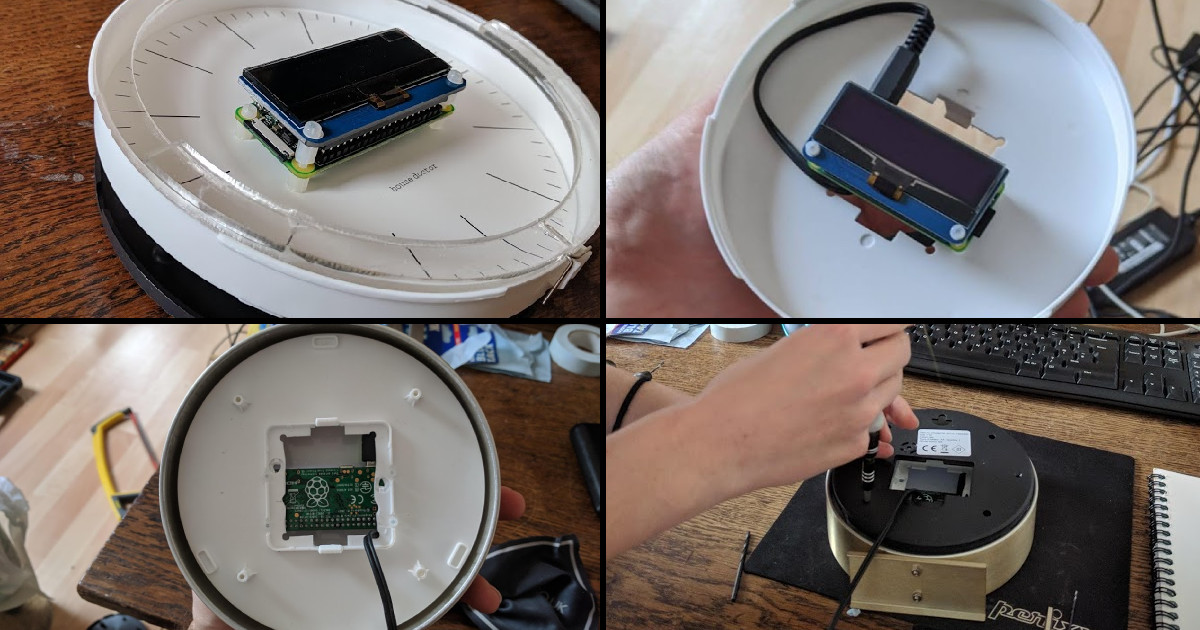
One of my goals was to use as much of the existing structure as possible. With a bit of drilling and box of PCB standoffs, I was able to attach the Pi directly to the original clock face. The Pi 3 could get quite hot, so I was a bit worried about the thermals. A bit of hacksawing and drilling created a decent vent, although an upside to the Pi Zero's weak processor is that it runs quite cool. Never hurts to be careful though.
The reveal
By this point pretty much the entire family was in on the ruse. We'd also smuggled half of the tools out the garage. Given all the snags with Rust and getting it to run on Pi Zero, the programming wasn't anywhere near done. We also didn't want to commit to sawing up the clock structure until we fully knew which device we'd be using. Instead, I hastily cobbled together a short song and dance that explained what the device was and placed a lot of faith in Blu-Tack to keep it all together.
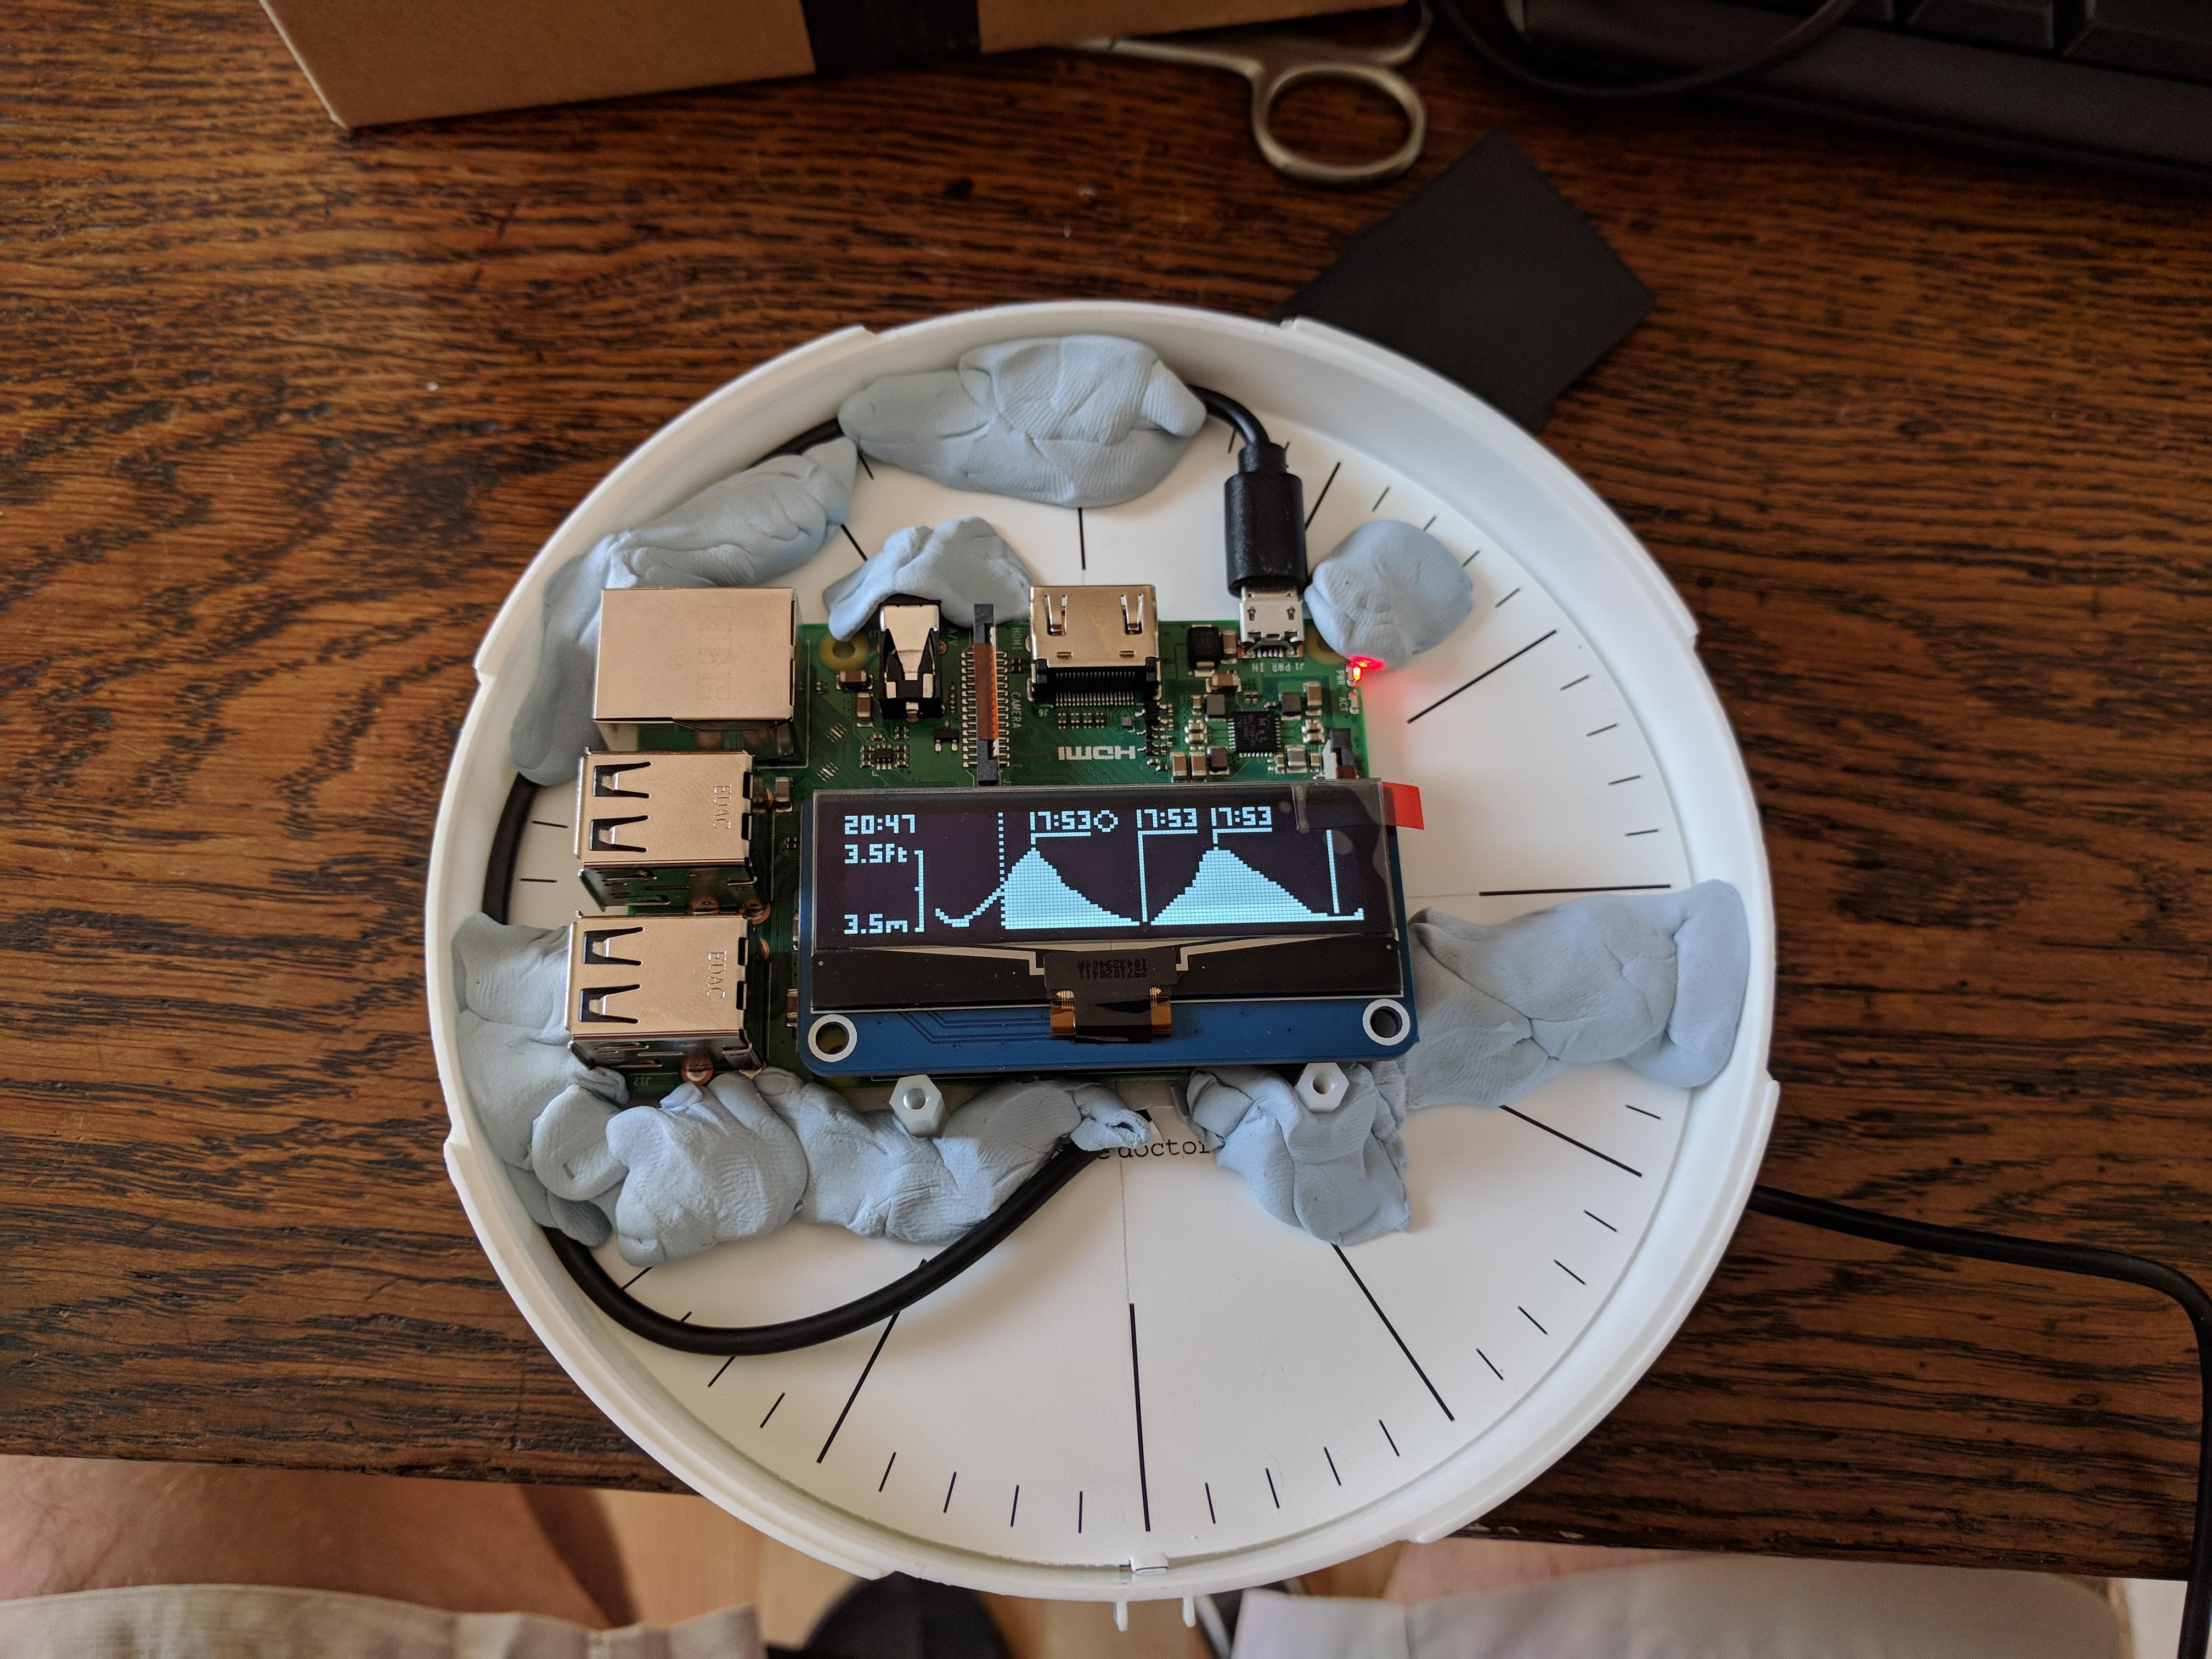
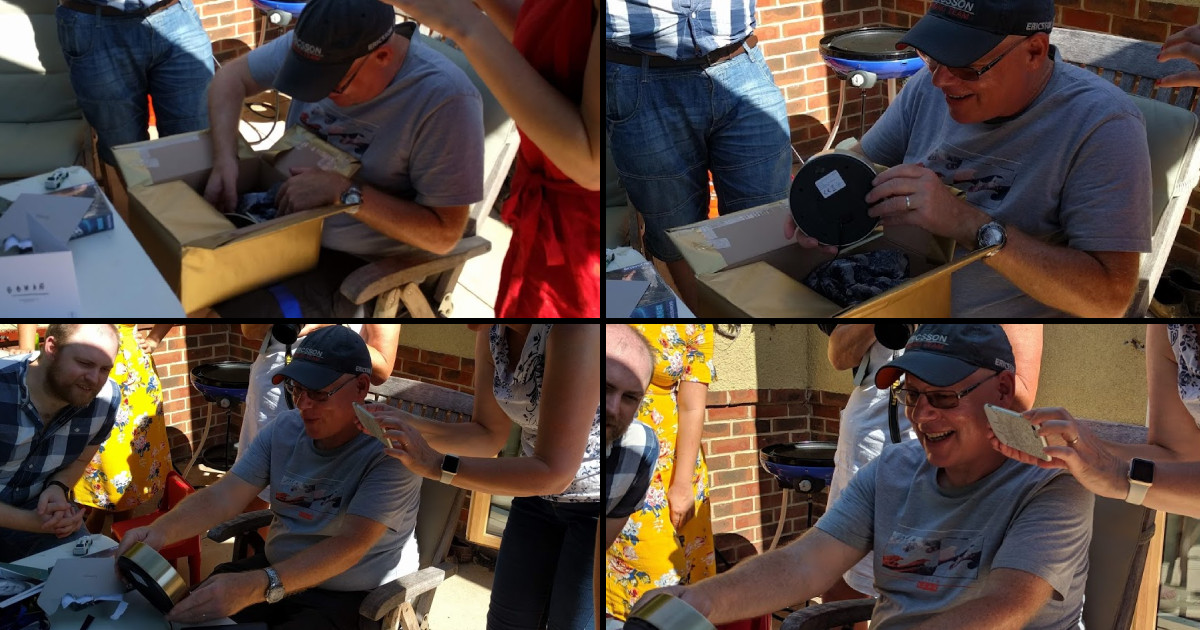
Right up until the final moments Tim was still oblivious to what we'd been brewing. As far as he knew the reason I was spending late nights my room was due to excessive bouts of overtime. Needless to say, his face lit up when we revealed the deception, and by the end there were a few watery eyes about, even if we needed to take it back immediately.
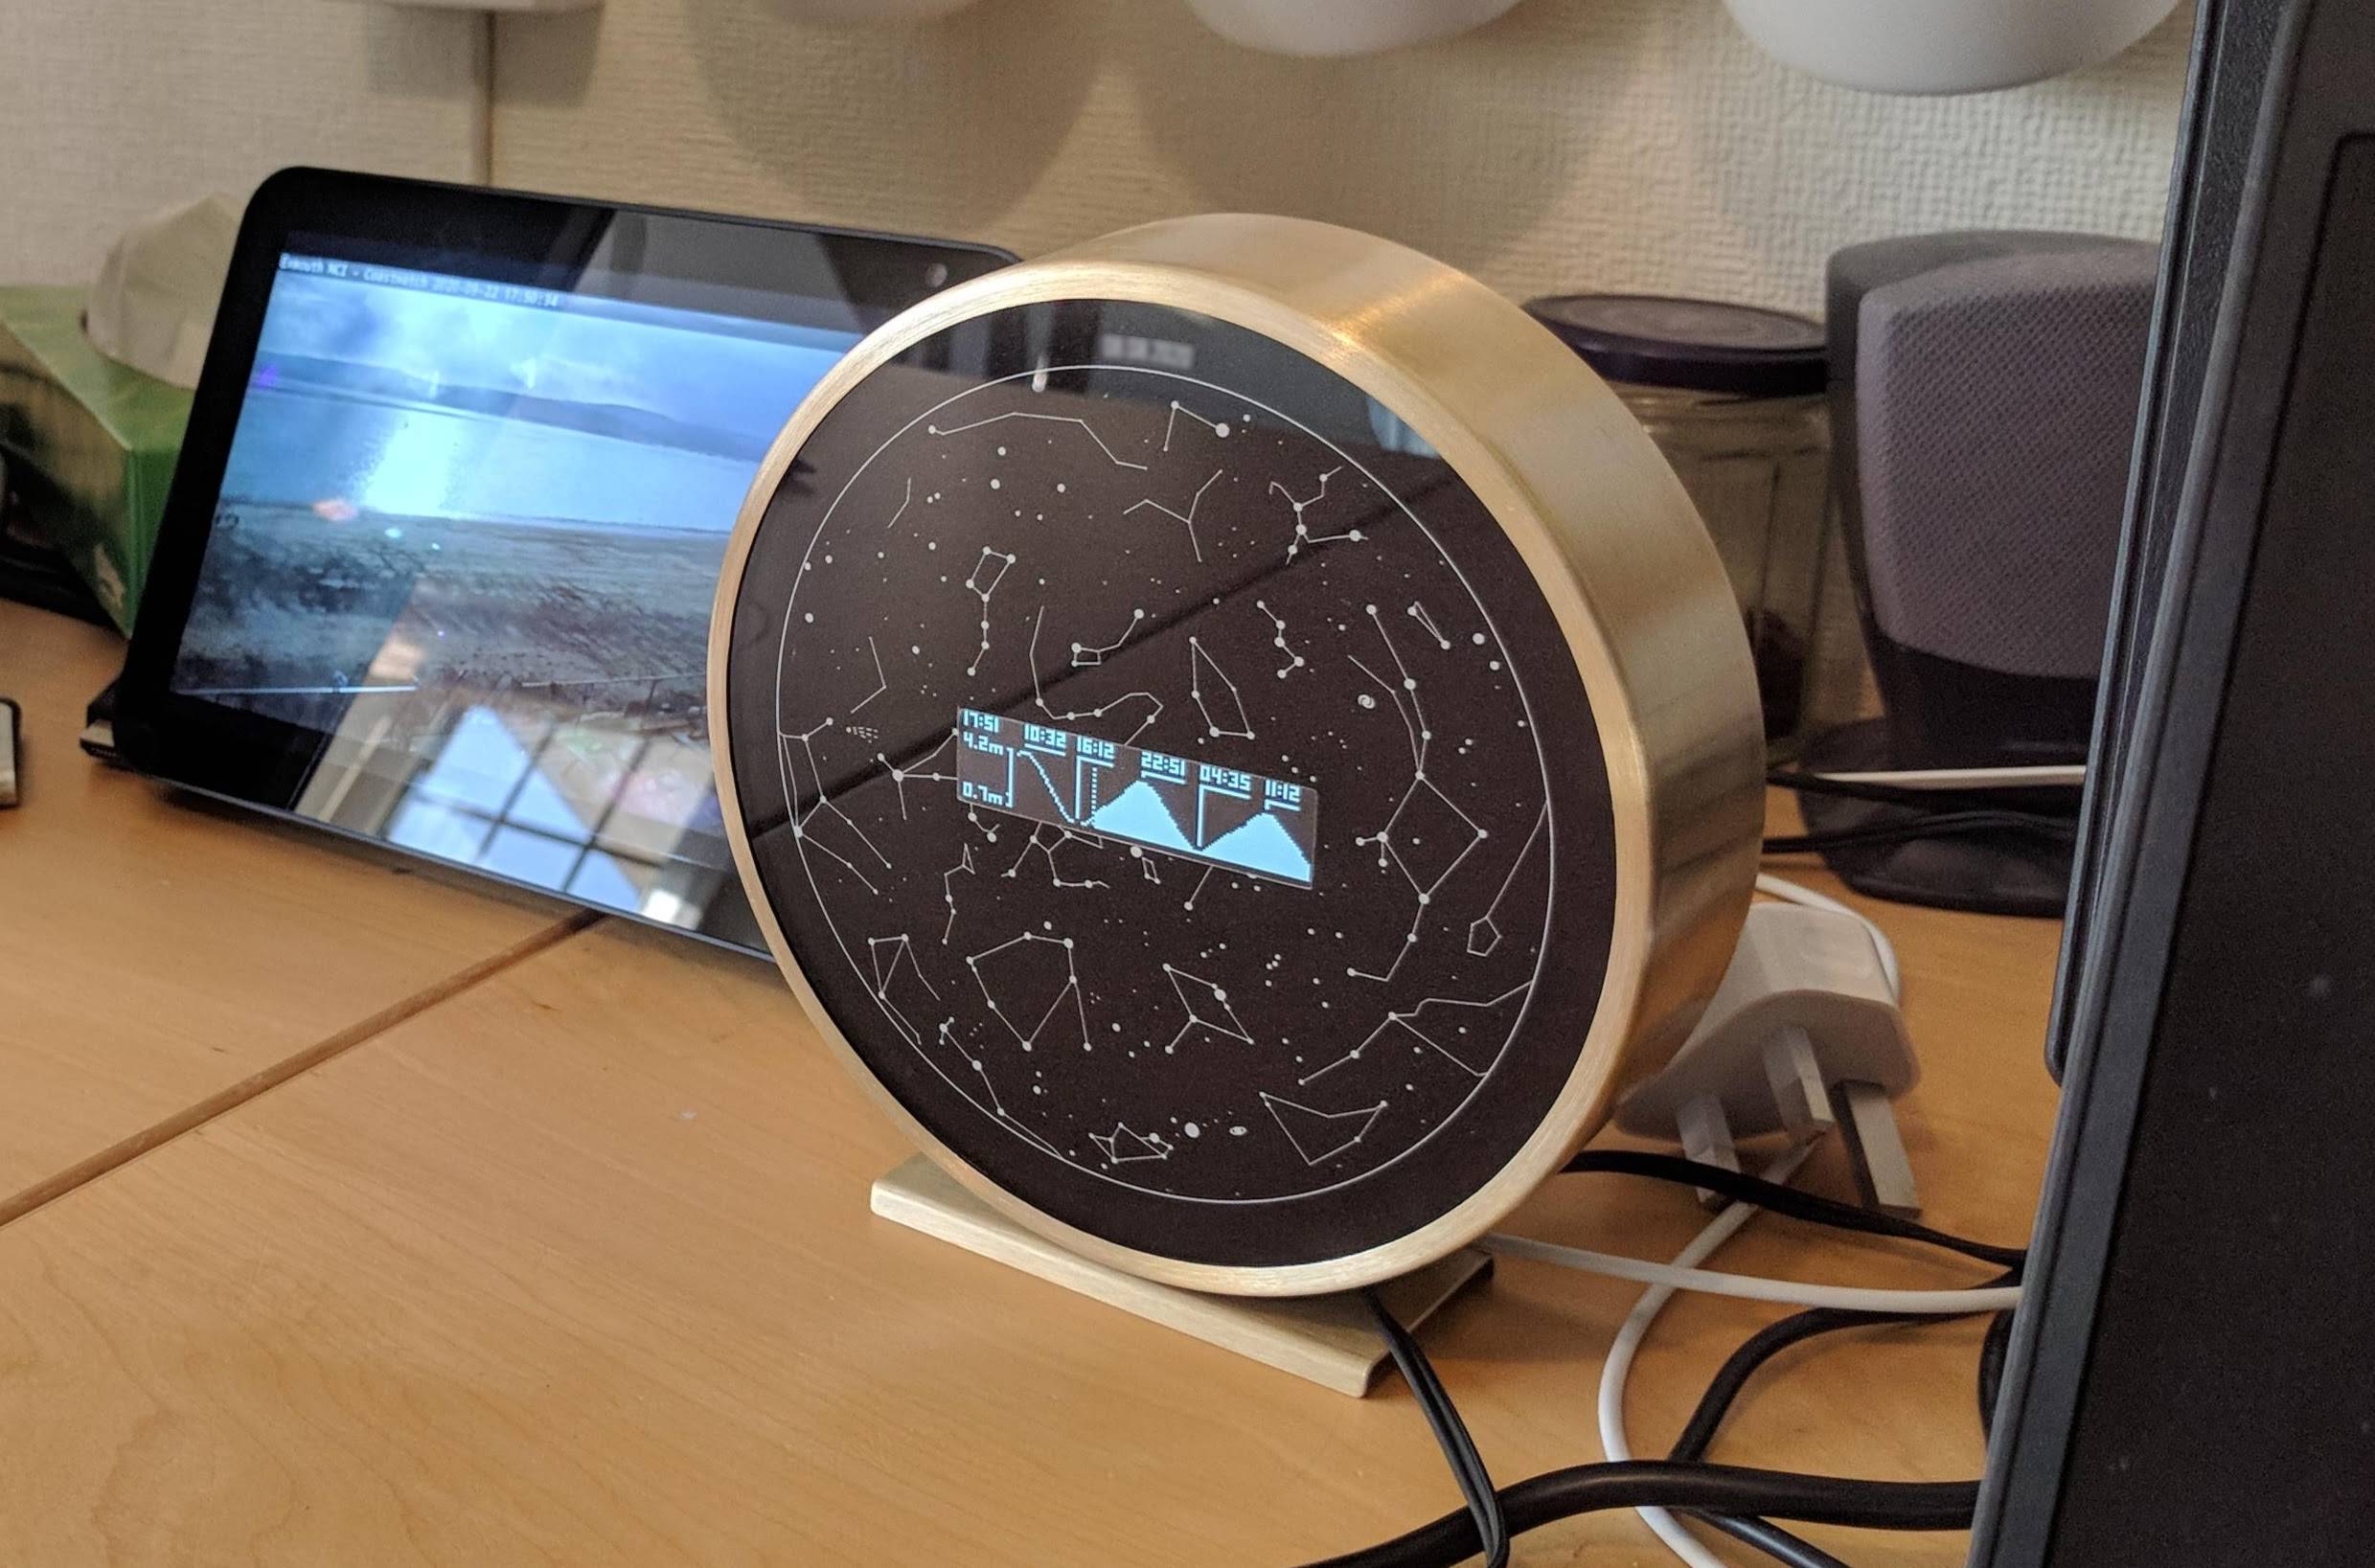
Post birthday party I could dial back to a more more leisurely pace. Over the next few weeks I'd finish up the programming, work out how to run on the Zero and put the finishing touches on the build. All in all, something we'll remember for a long time to come.
Discussion on /r/rust